Manage Registration Forms and Submissions
This guide explains the Registrations page — its three tabs (Forms, Submissions, Approval) and how to turn wholesale signups into tagged B2B customers.
The three tabs
Section titled “The three tabs”| Tab | What you do here |
|---|---|
| Forms | Create, edit, enable/disable, and embed registration forms |
| Submissions | Review, approve, or reject every signup |
| Approval | Choose manual or automatic approval and the default tags to assign |
Forms tab
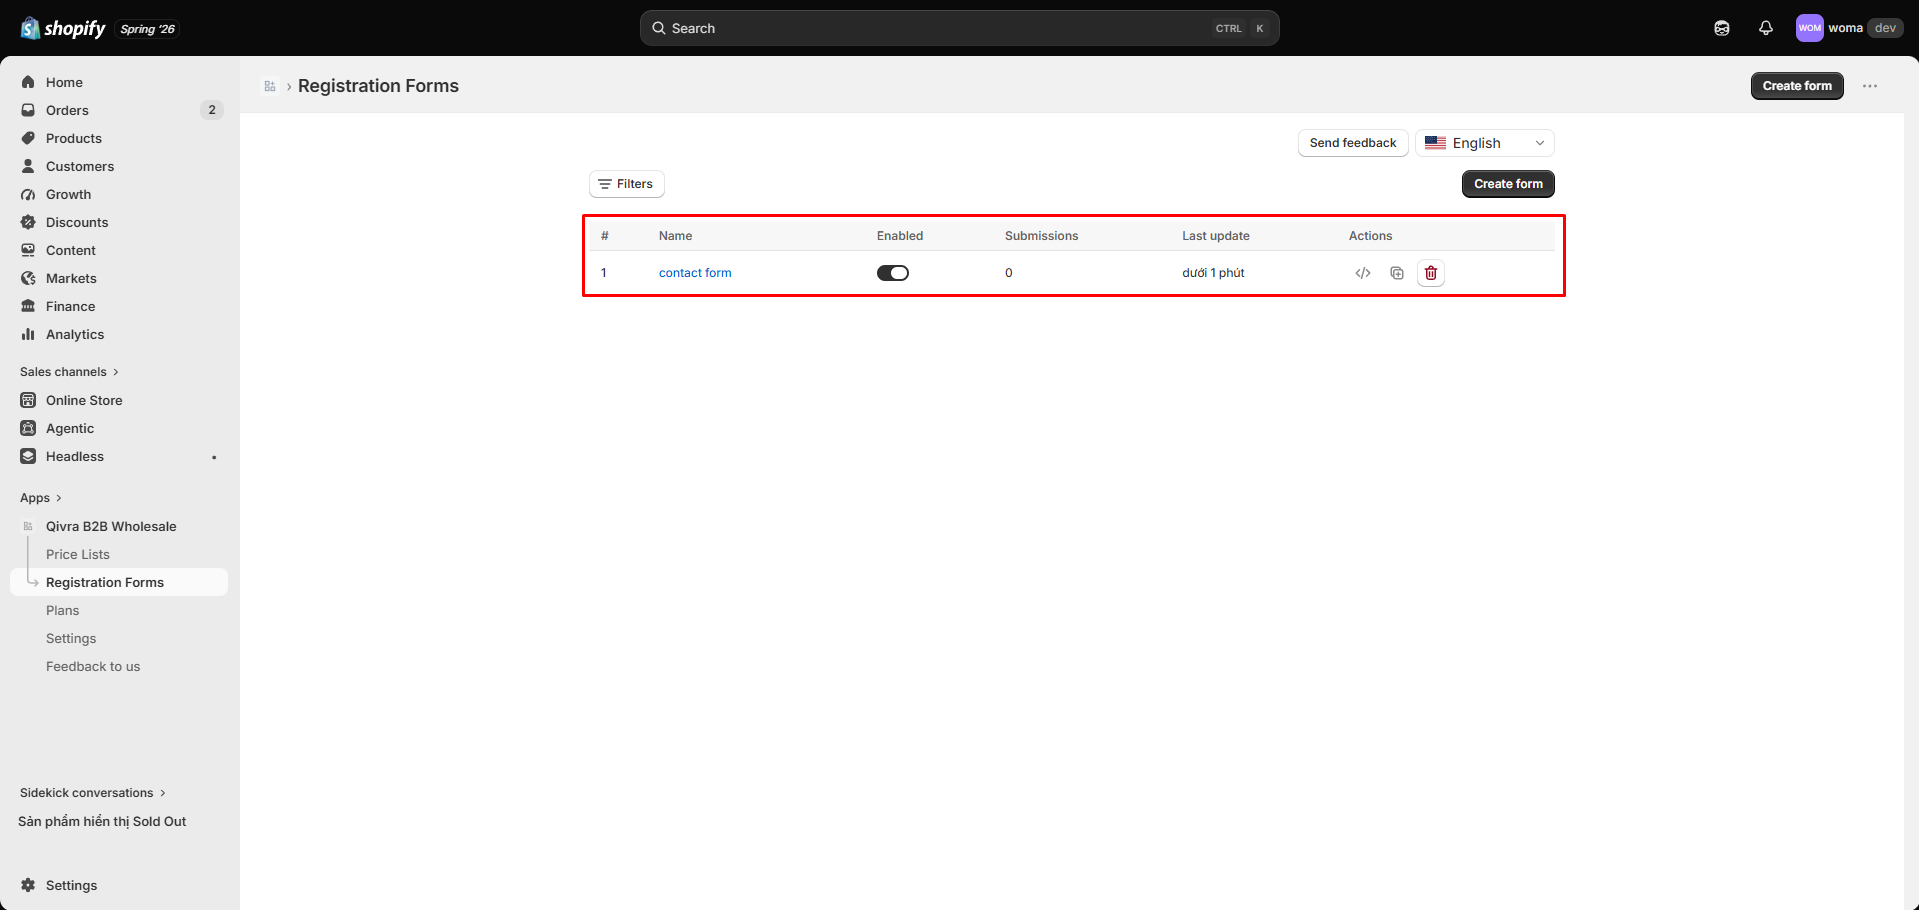
Section titled “Forms tab”The forms table shows each form’s name, an Enabled toggle, its submissions count, and its last update.
Search and filter
Section titled “Search and filter”- Search — find forms by name.
- Status filter — All, Active, or Inactive.
- Sort — by name or last updated.
Row actions
Section titled “Row actions”| Action | What it does |
|---|---|
| Enabled toggle | Turn submissions on/off instantly |
| Embed script | Get the shortcode/block instructions for the form |
| Duplicate | Clone the form |
| Delete | Remove the form (confirmation required) |
A disabled form stops accepting submissions immediately, even if it is still embedded on your store — the fastest way to pause signups. See Create a registration form for building forms.
Submissions tab
Section titled “Submissions tab”Every signup lands here with a status:
| Status | Meaning |
|---|---|
| Pending | Waiting for your review |
| Approved | You approved it — tags were assigned to the customer |
| Rejected | You declined it — the customer is not modified |
Search and filter
Section titled “Search and filter”- Status buttons — All, Pending, Approved, Rejected.
- Search — find submissions by customer email.
- Pagination — adjust rows per page.
The table shows the customer email (with a Guest marker for logged-out submissions), the form name, status, assigned tags, and the submitted at time.
View a submission
Section titled “View a submission”Click View to open the detail modal: every field value the applicant submitted, the submission URL, and — once reviewed — who reviewed it and when.
Approve a submission
Section titled “Approve a submission”Approving a submission assigns wholesale customer tags to the customer so they immediately qualify for your price lists:
- Click Approve on a pending submission.
- In the Approve registration modal, choose the tags to assign:
- Pick from existing customer tags (suggestions), or
- Type a new tag and click Add.
- Click Approve.
What happens next depends on the submitter:
- Logged-in customer — the tags are added to their existing Shopify customer record.
- Guest submission with an email — the app creates a new Shopify customer with those tags and sends them an account invite email.
The tag must match the customer tags configured in your price lists, otherwise the customer won’t see wholesale prices.
Reject a submission
Section titled “Reject a submission”- Click Reject on a pending submission.
- Confirm in the dialog.
Rejecting only marks the submission as rejected — no changes are made to any customer record.
Approval tab (automatic approval)
Section titled “Approval tab (automatic approval)”To skip manual review:
- Open the Approval tab (requires at least one form).
- Choose the Approval mode:
- Manual — submissions wait in the Submissions tab until you approve them.
- Automatic — new submissions are approved instantly and the customer gets the tags below.
- Set Tags to assign (comma-separated). Empty defaults to
wholesale. - Save.
Automatic mode is best combined with a well-tested form; switch back to Manual any time.
Email notifications
Section titled “Email notifications”You receive an email for every new submission (form name, submitted time, and all field values), sent to your notification recipient. Pair it with Shopify Flow for team alerts or CRM automation.
Plan limits
Section titled “Plan limits”Submissions per billing period are limited by plan: 2,000 on Free, Basic, and Premium; unlimited on Ultimate. See Plans and billing.