Multi-Step Forms
Multi-step forms break long forms into manageable sections, improving user experience and increasing completion rates. This guide shows you how to create and configure multi-step forms.
Why Use Multi-Step Forms?
Section titled “Why Use Multi-Step Forms?”Benefits
Section titled “Benefits”| Benefit | Description |
|---|---|
| Better UX | Less overwhelming than long single-page forms |
| Higher Completion | Users more likely to finish shorter steps |
| Logical Flow | Group related questions together |
| Progress Visibility | Users see how far they’ve progressed |
| Reduced Abandonment | Lower cognitive load per step |
When to Use Multi-Step
Section titled “When to Use Multi-Step”- Forms with 10+ fields
- Complex information gathering
- Application or registration forms
- Surveys with sections
- Checkout or booking processes
Creating Multi-Step Forms
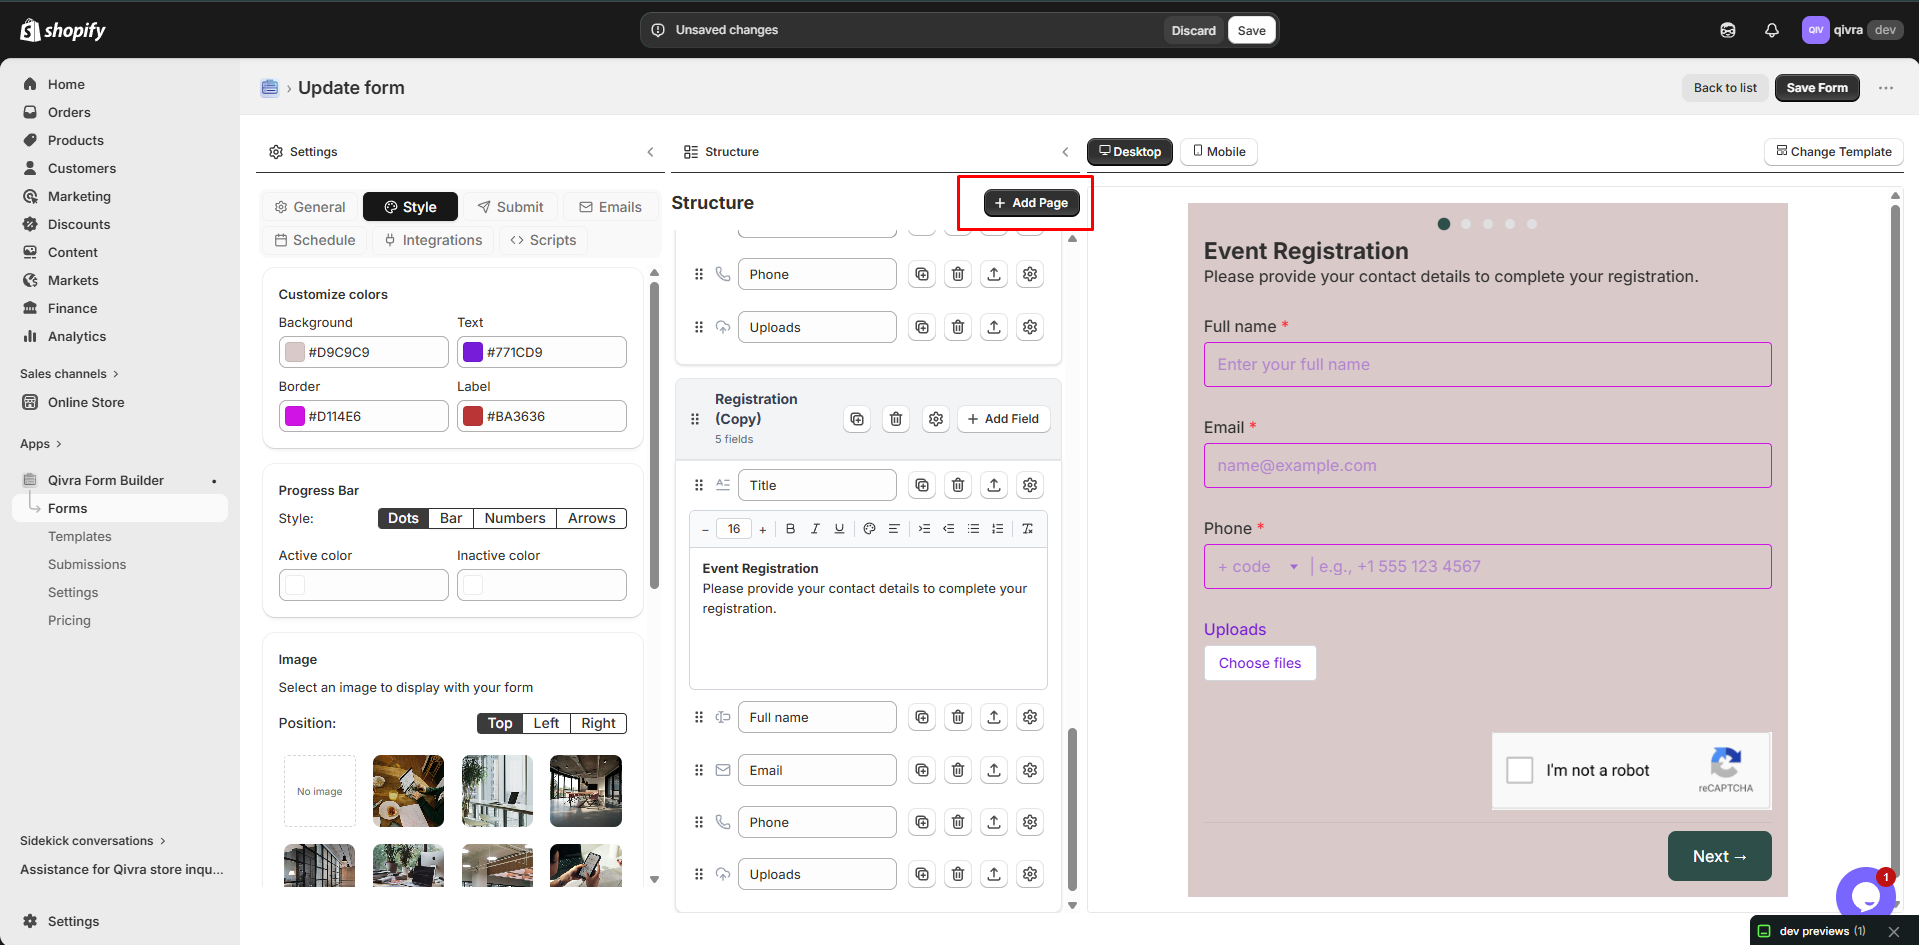
Section titled “Creating Multi-Step Forms”Step 1: Add Steps to Your Form
Section titled “Step 1: Add Steps to Your Form”- Open your form in the Form Builder
- Click Add Page button (usually at the top or bottom of the form)
- A new step is created
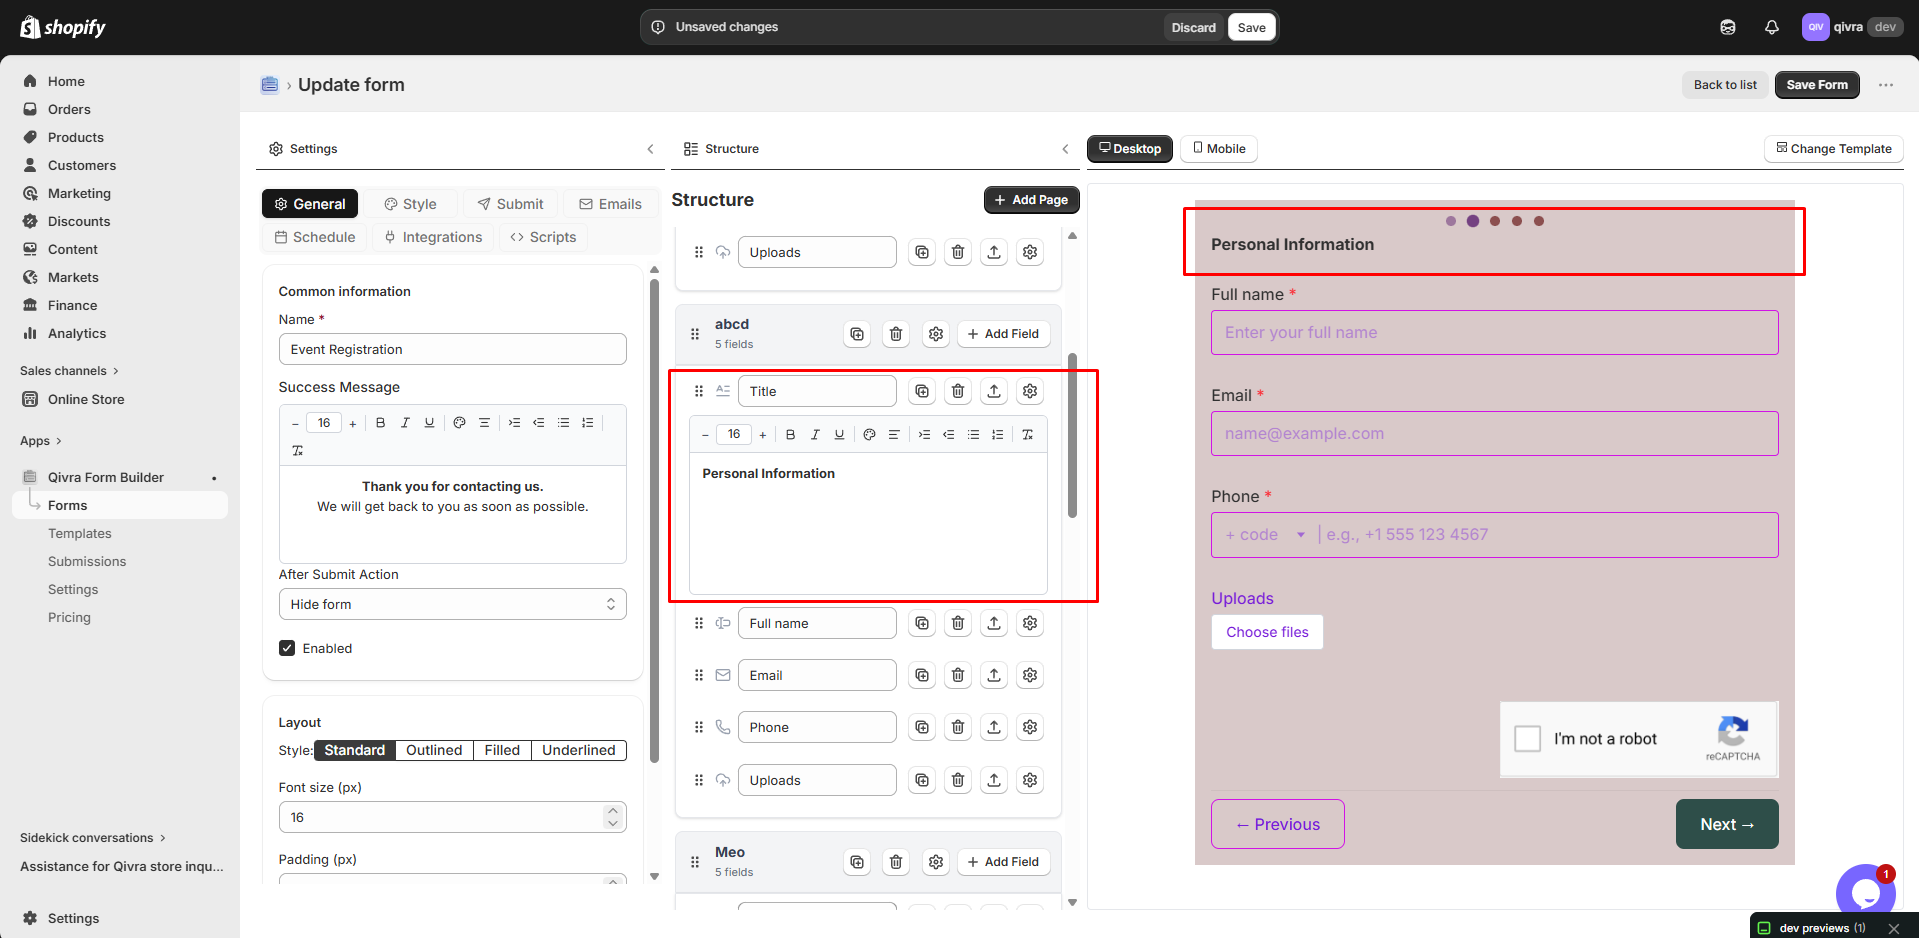
Step 2: Name Your Steps
Section titled “Step 2: Name Your Steps”- Click on the step header or tab
- Enter a descriptive name for the step
- Good names include:
- “Personal Information”
- “Shipping Details”
- “Preferences”
- “Review & Submit”
Step 3: Add Fields to Each Step
Section titled “Step 3: Add Fields to Each Step”- Select the step you want to edit
- Click Add Elements
- Add fields to that step
- Repeat for each step
Managing Steps
Section titled “Managing Steps”Step Navigation
Section titled “Step Navigation”The step navigator shows all steps in your form:
| Element | Function |
|---|---|
| Step Tabs | Click to switch between steps |
| Add Step (+) | Create a new step |
| Step Menu (⋯) | Additional step options |
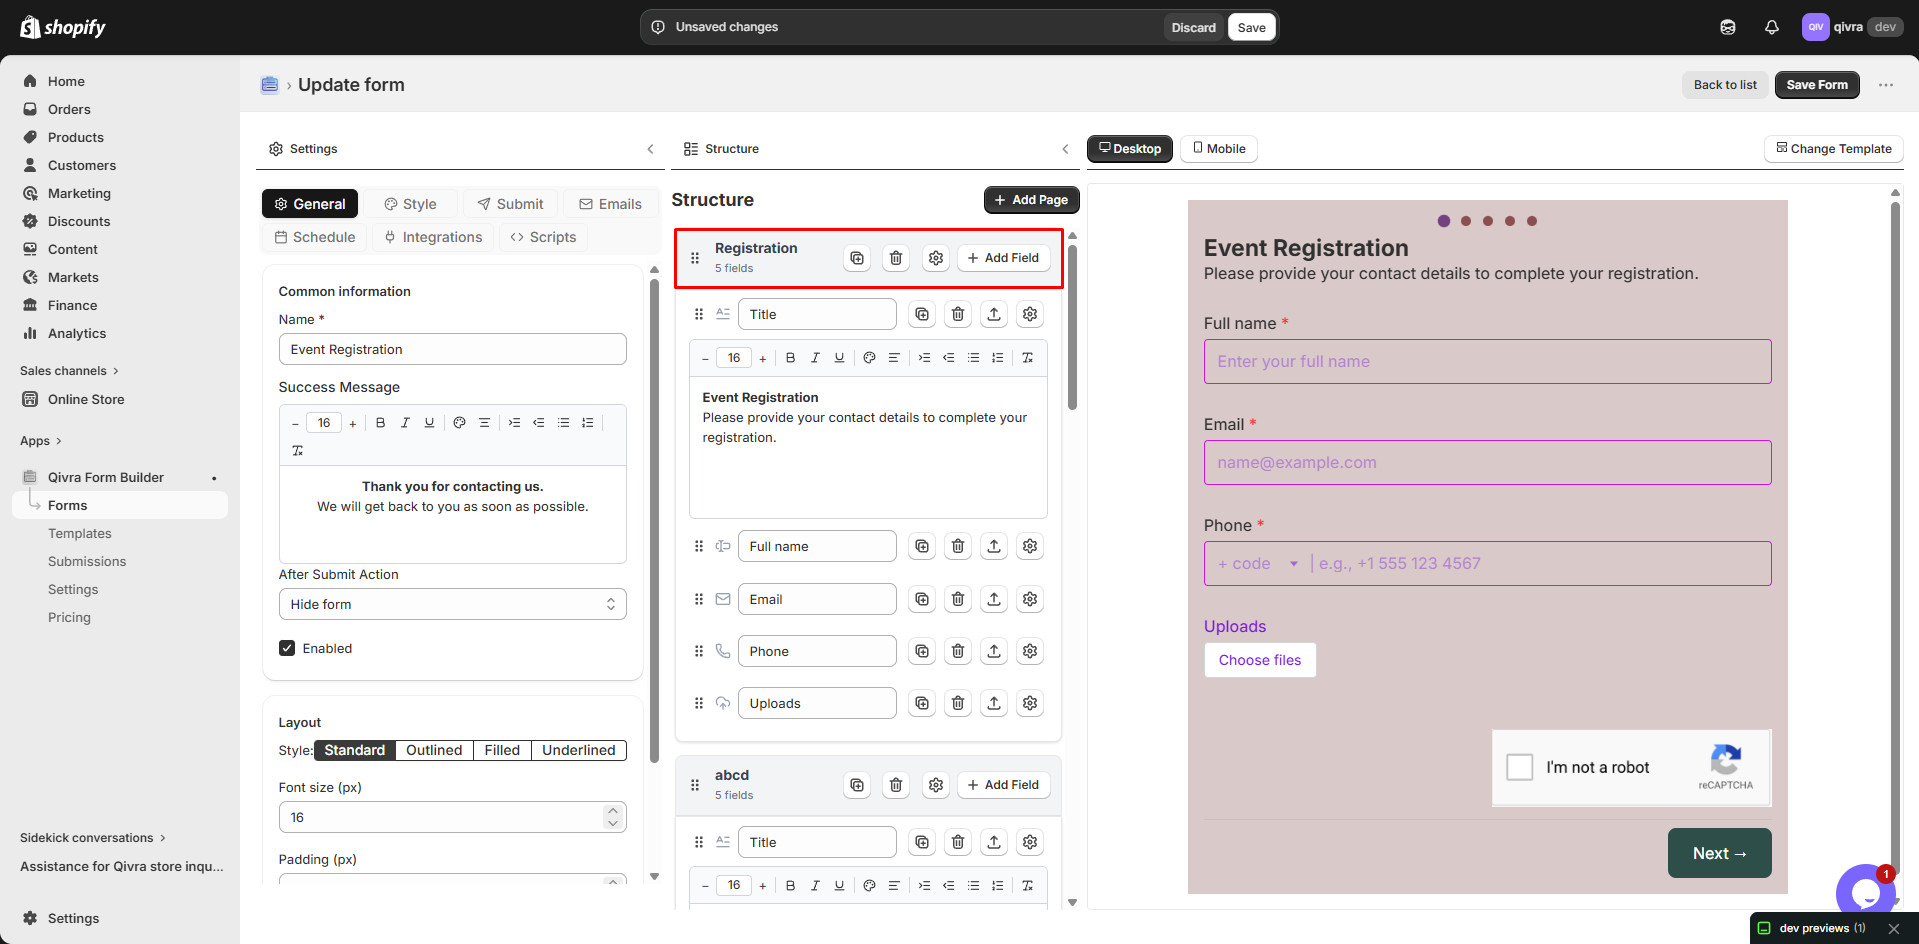
Reordering Steps
Section titled “Reordering Steps”- Click and hold the step tab
- Drag to the desired position
- Release to drop
Step Actions
Section titled “Step Actions”From the step menu (⋯):
| Action | Description |
|---|---|
| Rename | Change step name |
| Duplicate | Copy the entire step |
| Delete | Remove the step and its fields |
| Move Up/Down | Reorder steps |
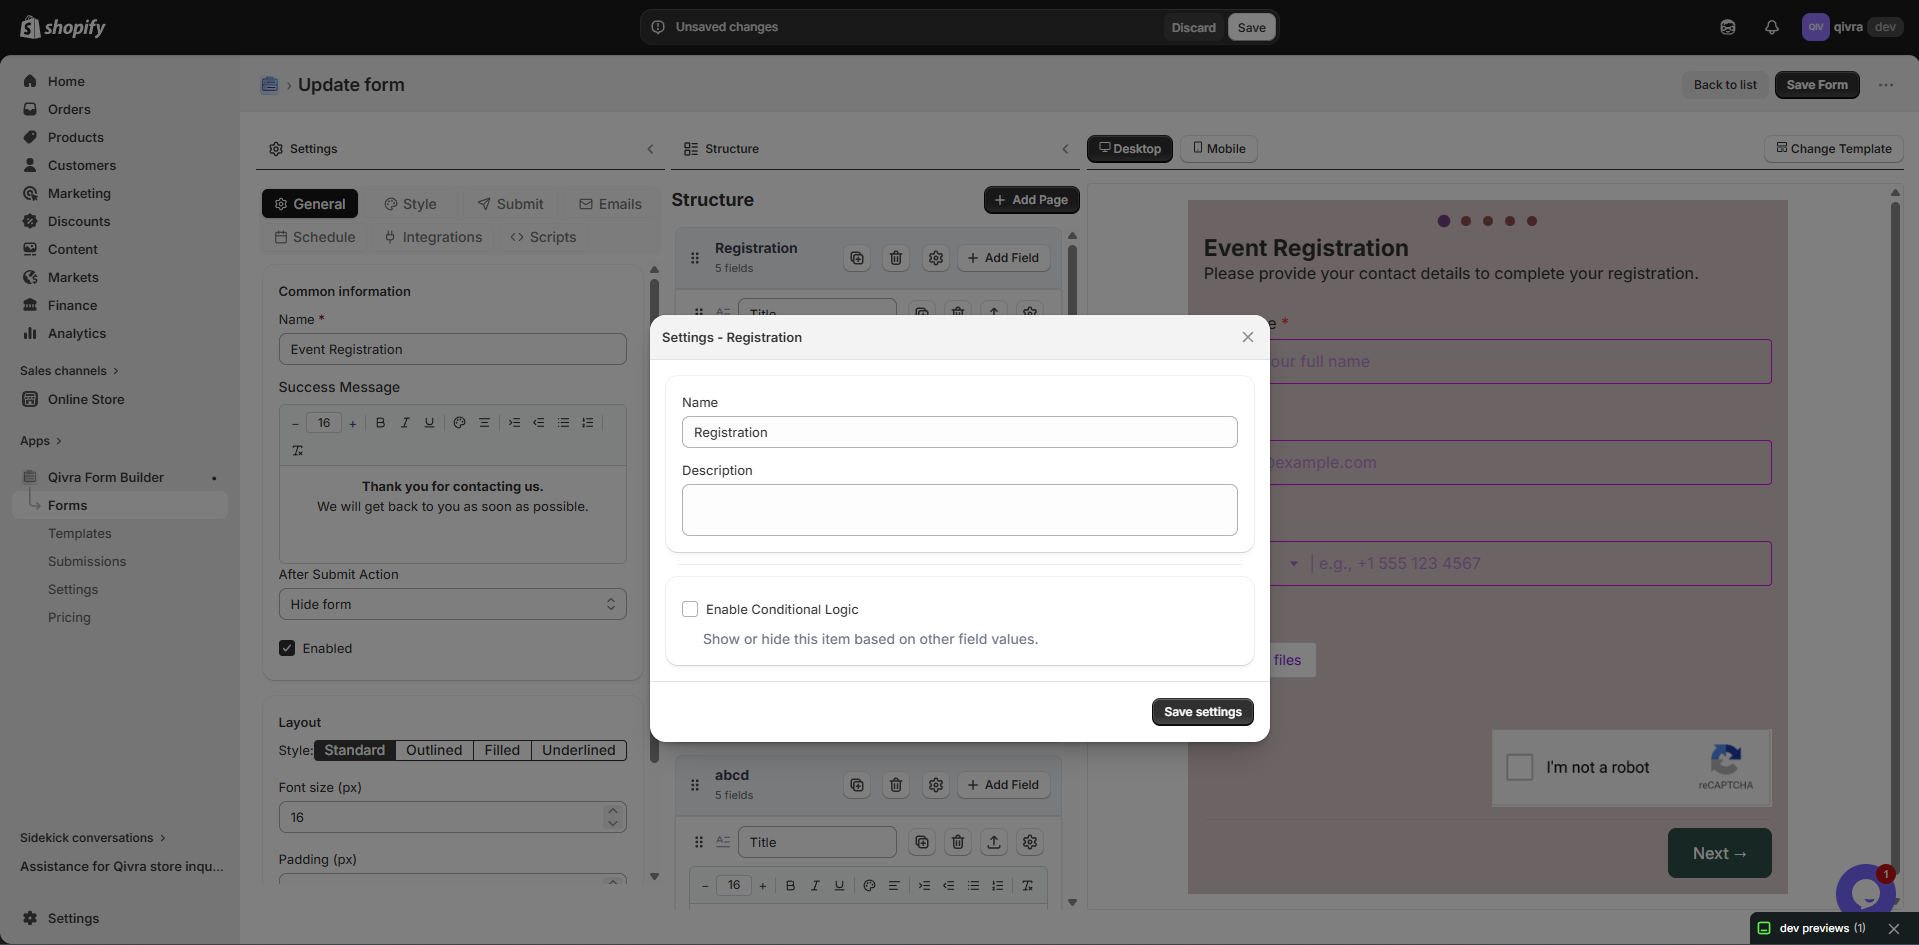
Step Settings
Section titled “Step Settings”Step Options
Section titled “Step Options”Click on a step to access its settings:
| Setting | Description |
|---|---|
| Step Name | Display name for the step |
| Description | Optional text shown below step name |
| Conditional Logic | Show/hide step based on conditions |
Step Navigation Settings
Section titled “Step Navigation Settings”Control how users move between steps:
| Setting | Options |
|---|---|
| Previous Button | Show/Hide, custom text |
| Next Button | Custom text |
| Submit Button | Custom text on final step |
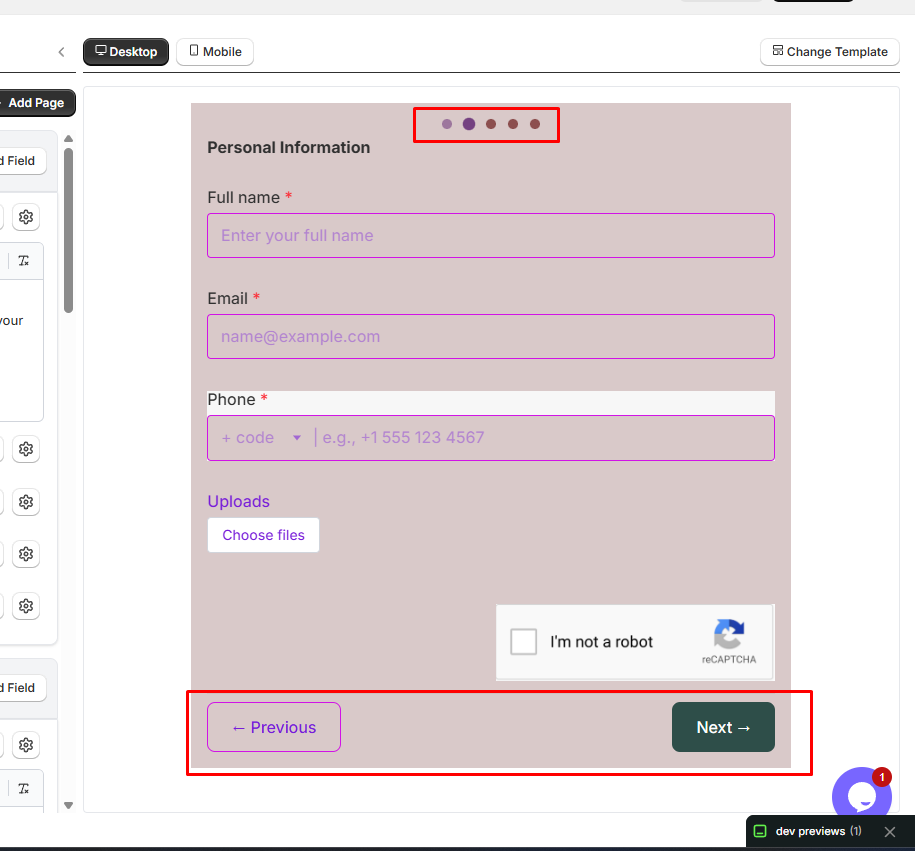
Step Progress Indicator
Section titled “Step Progress Indicator”The progress indicator shows users their current position in the form:
Display Options
Section titled “Display Options”| Style | Description | Best For |
|---|---|---|
| Dots | Simple dot indicators | Clean, minimal forms |
| Bar | Visual bar showing completion percentage | Professional look, emphasis on progress |
| Numbers | Numbered circles with step labels | Forms with descriptive step names |
| Arrows | Arrow-shaped step indicators | Process-oriented forms |
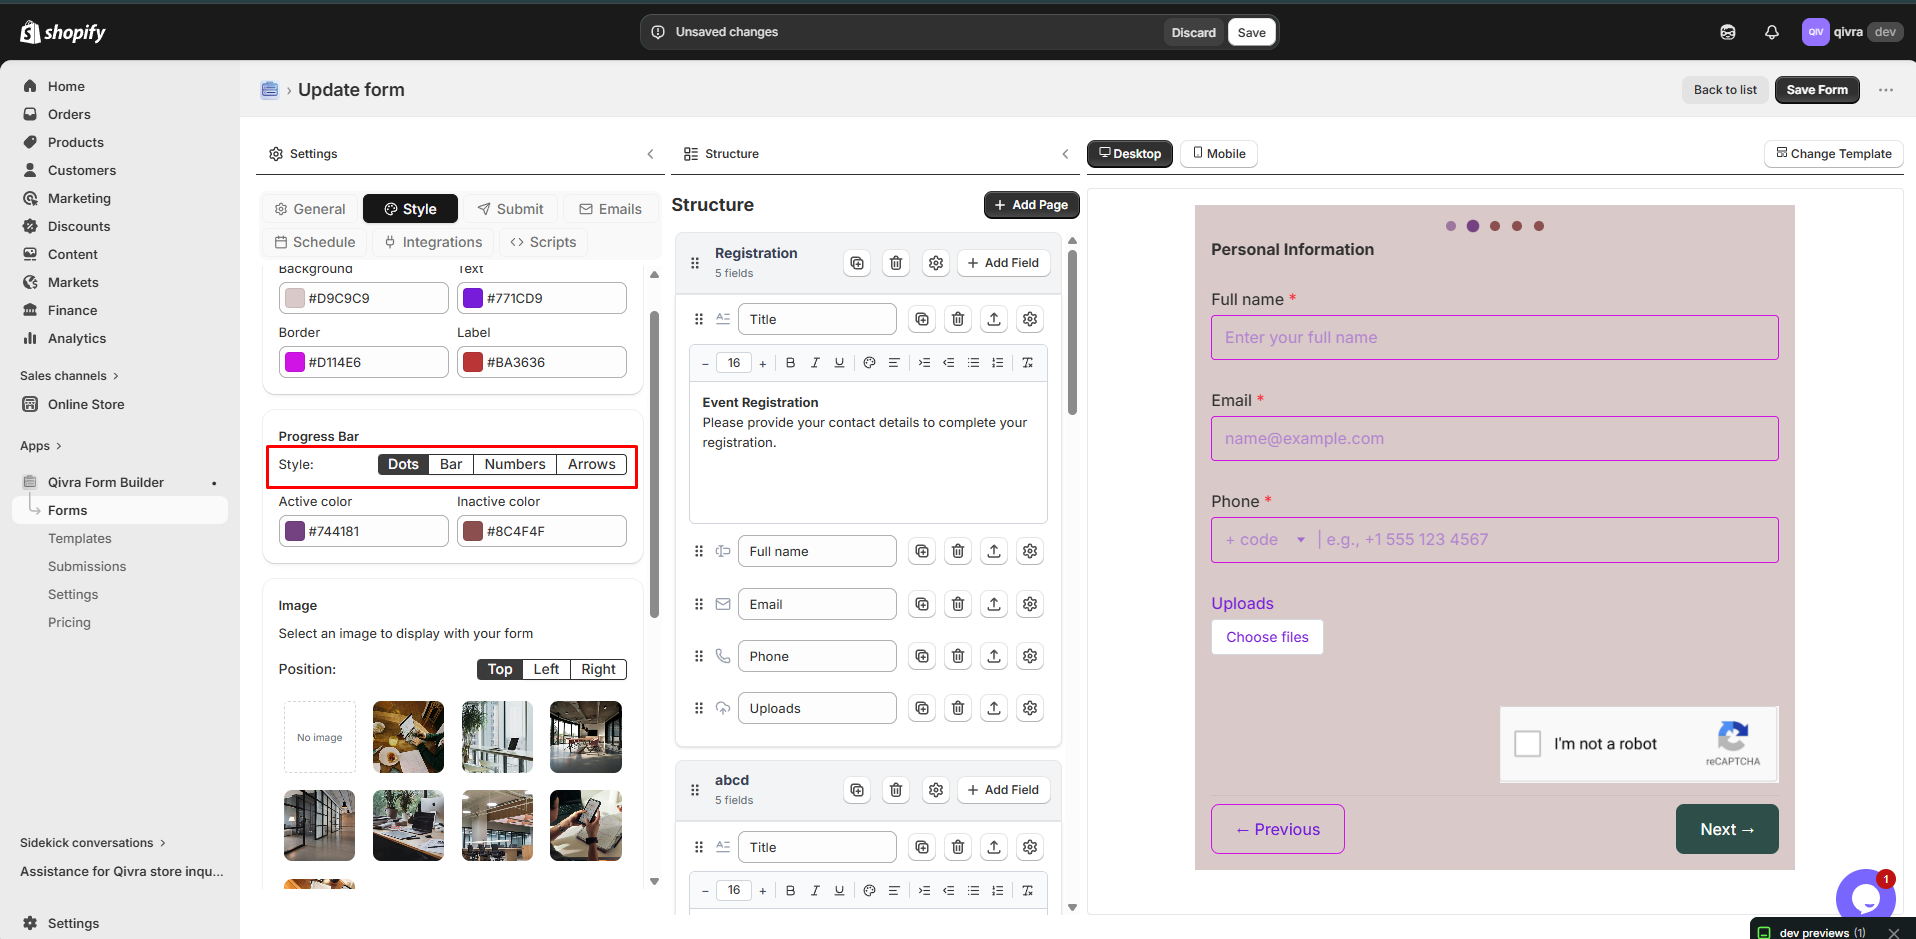
Customization Options
Section titled “Customization Options”Each progress style can be customized:
| Setting | Dots | Bar | Numbers | Arrows |
|---|---|---|---|---|
| Active color | ✅ | ✅ | ✅ | ✅ |
| Completed color | ✅ | ✅ | ✅ | ✅ |
| Inactive color | ✅ | ✅ | ✅ | ✅ |
| Show step names | ❌ | ❌ | ✅ | ✅ |
| Progress percentage | ❌ | ✅ | ❌ | ❌ |
Visual Examples
Section titled “Visual Examples”Dots Style
Section titled “Dots Style”Step 1 of 3● ● ●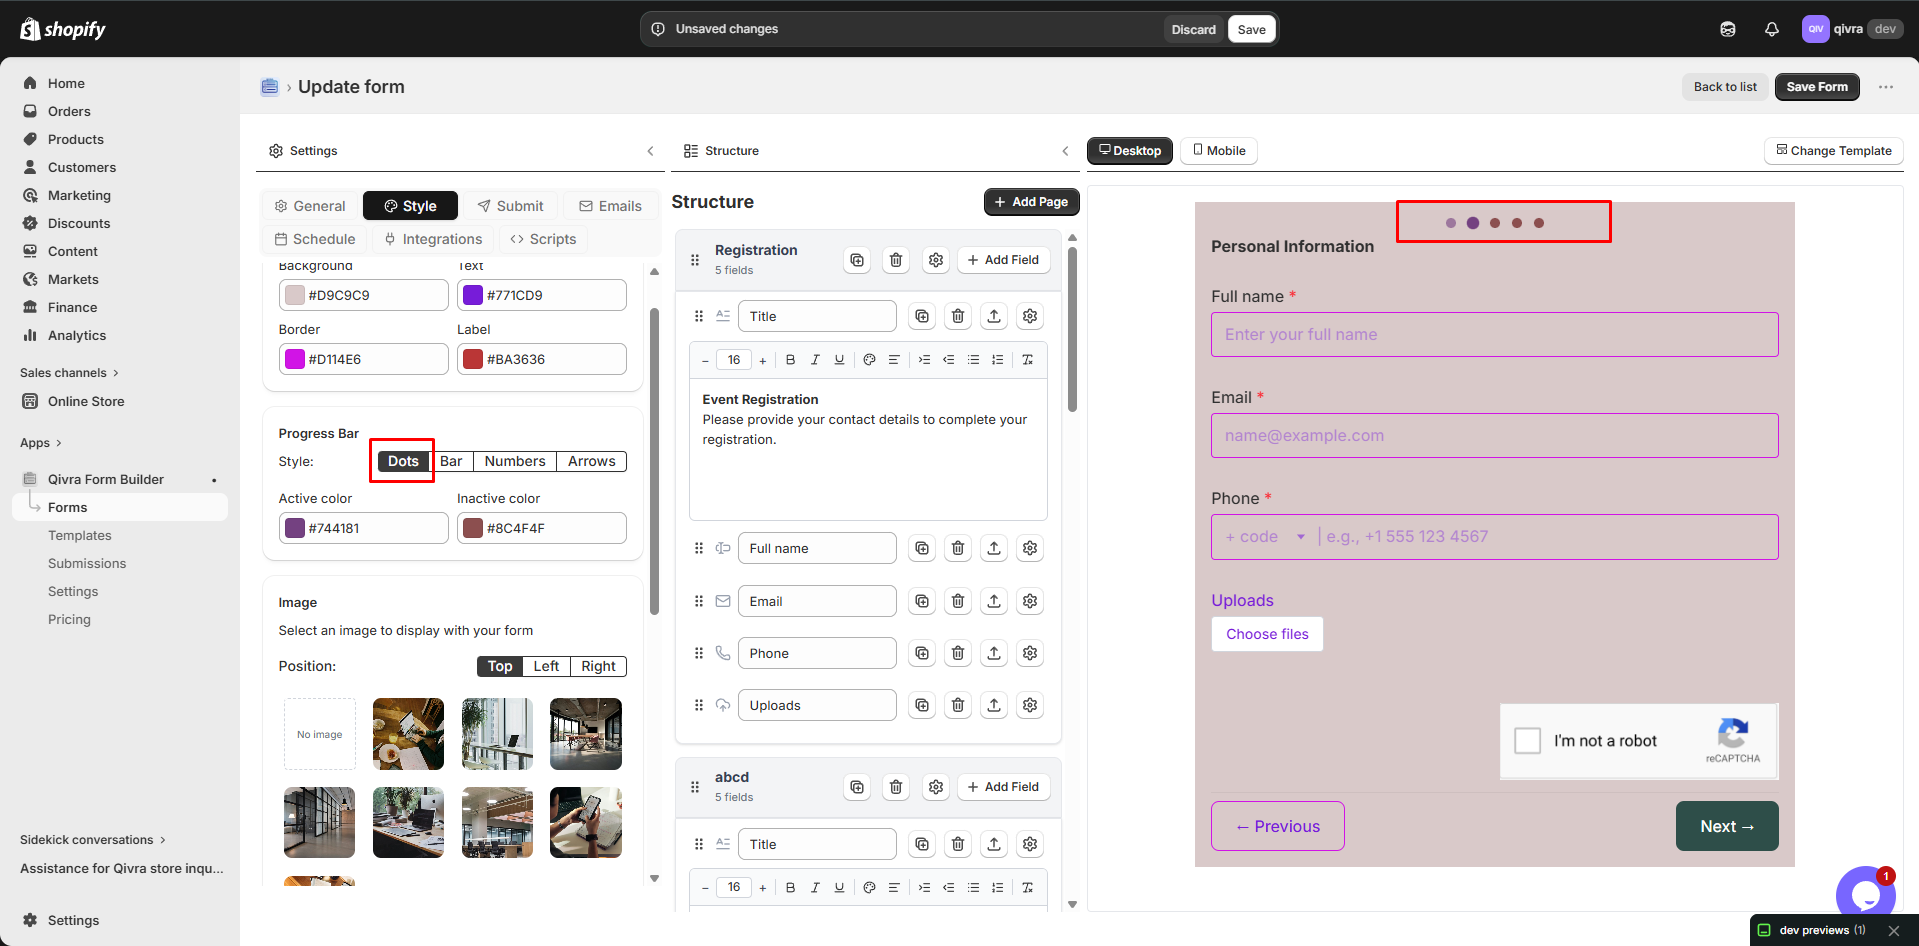
Bar Style
Section titled “Bar Style”Step 1 of 3███████░░░░░ 33%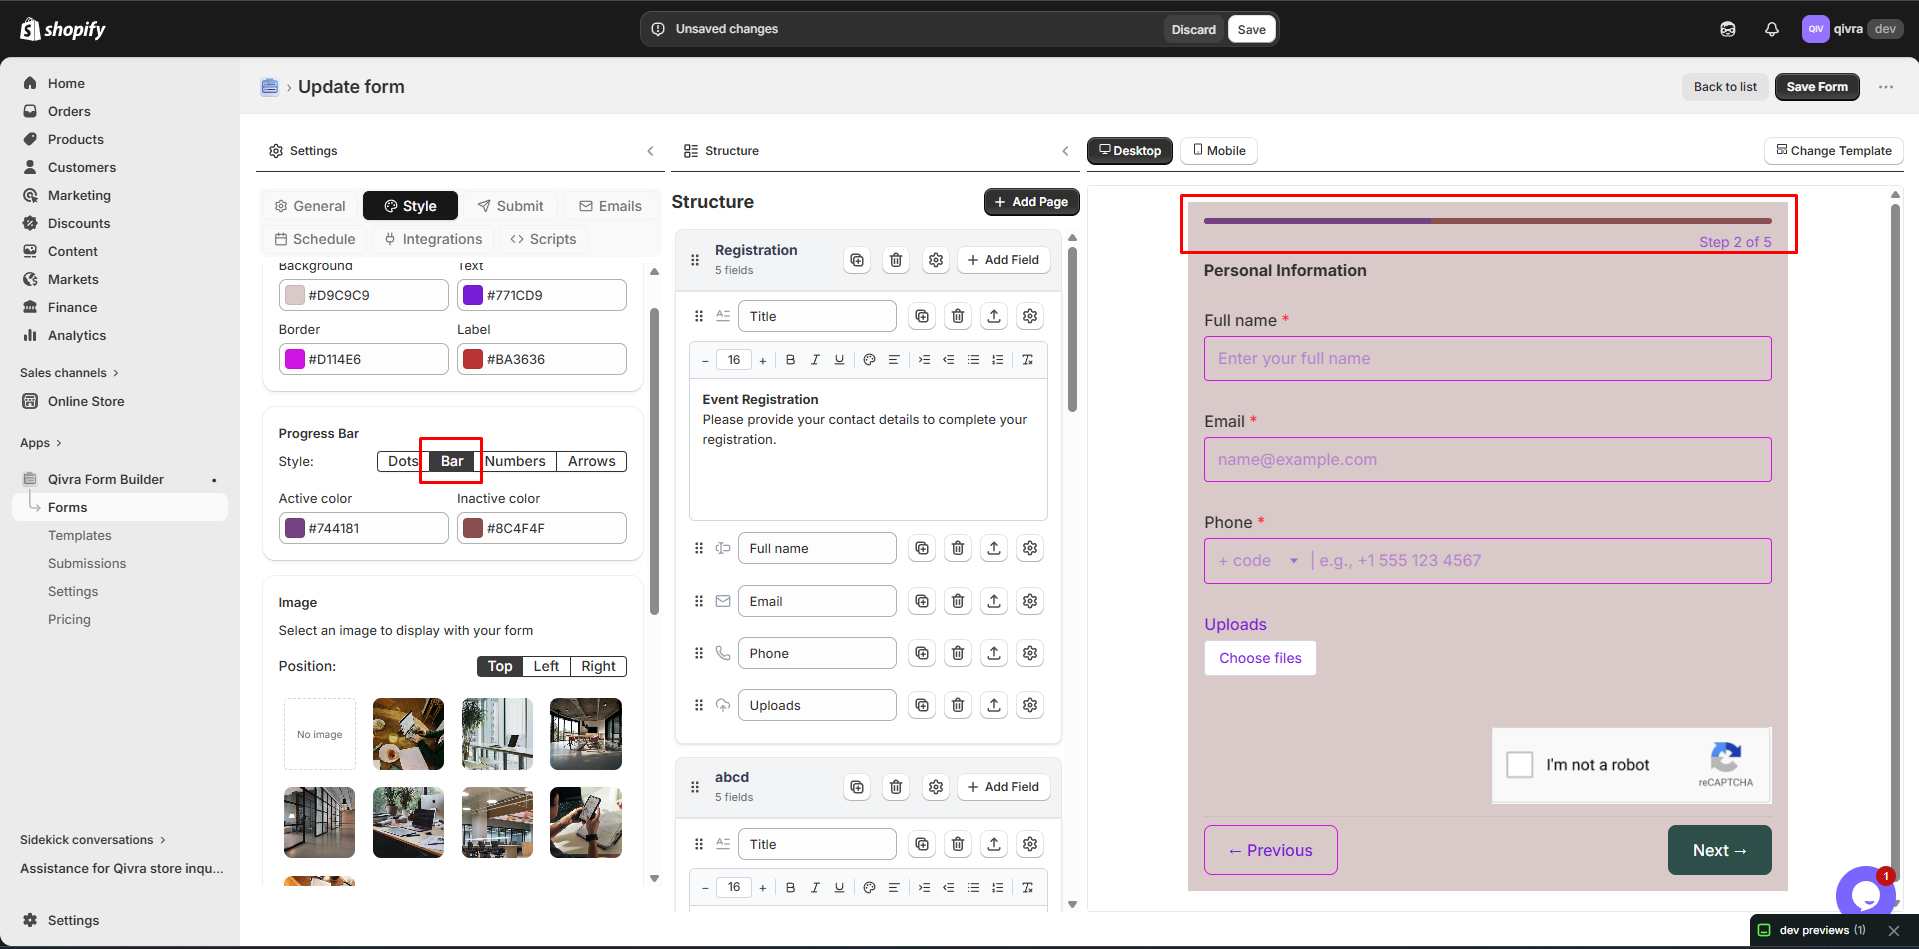
Numbers Style
Section titled “Numbers Style”⓵ → ⓶ → ⓷Personal Info → Shipping → Review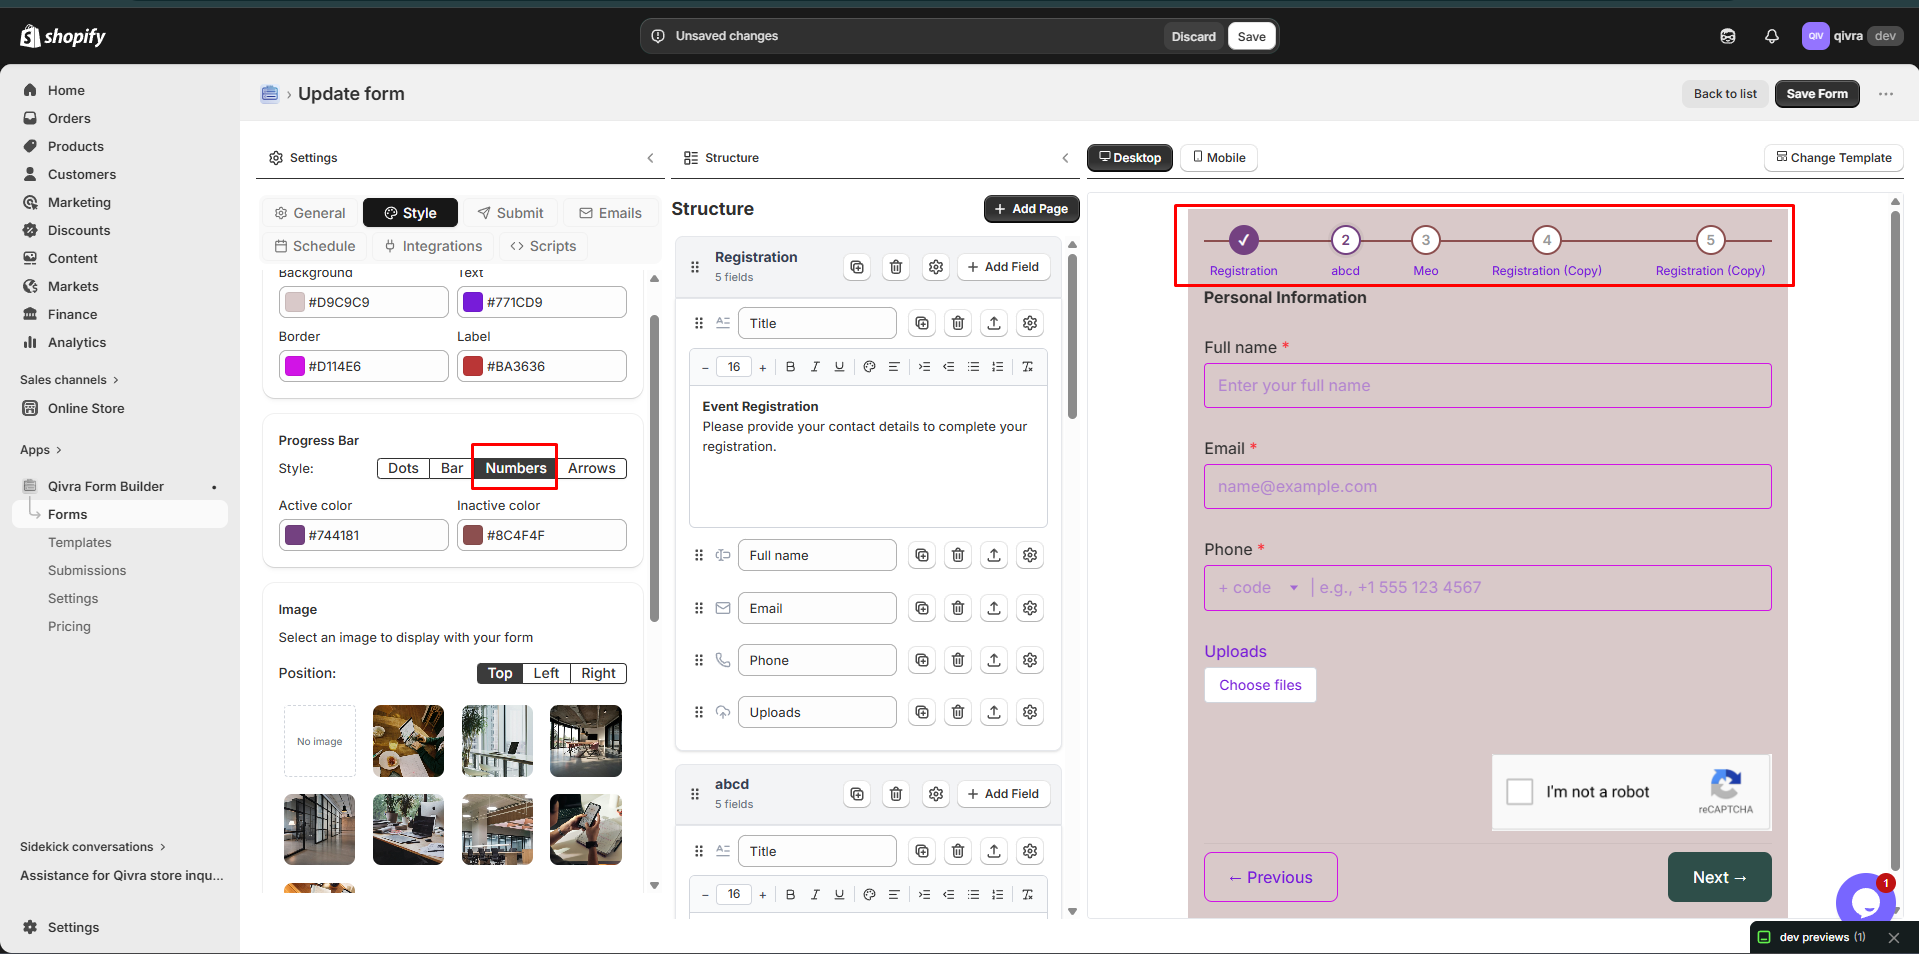
Arrows Style
Section titled “Arrows Style”Personal Info → Shipping → Review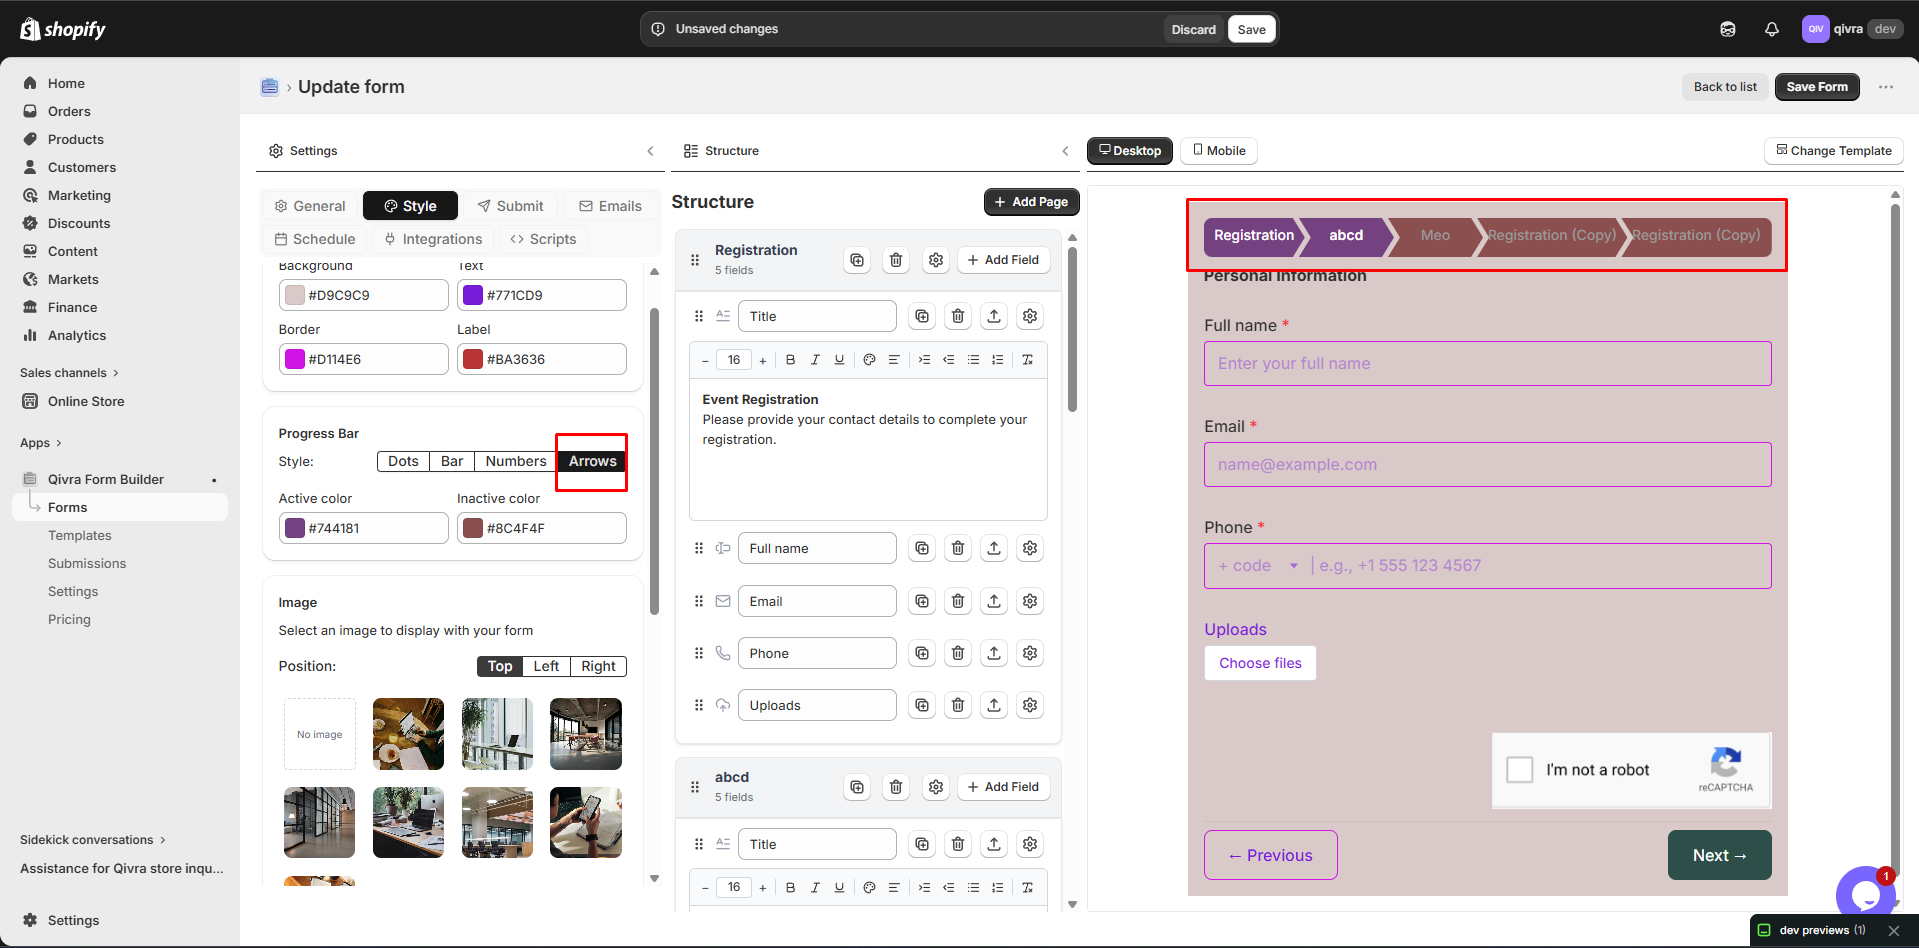
Conditional Steps
Section titled “Conditional Steps”Steps can be shown or hidden based on user responses.
Setting Up Conditional Steps
Section titled “Setting Up Conditional Steps”- Click on the step to select it
- Scroll to Conditional Logic settings
- Enable conditional logic
- Set the condition rules
Example Use Cases
Section titled “Example Use Cases”| Scenario | Condition |
|---|---|
| Business Application | Show “Company Info” step when “Business” is selected |
| Shipping Form | Show “International Shipping” step when country is not domestic |
| Survey | Show “Follow-up Questions” step when rating is low |
See Conditional Logic for detailed instructions.
Best Practices for Multi-Step Forms
Section titled “Best Practices for Multi-Step Forms”Step Organization
Section titled “Step Organization”-
Logical Grouping
- Personal info together
- Address details together
- Preferences together
-
Progressive Disclosure
- Start with easy questions
- Save complex questions for later steps
- End with review or confirmation
-
Optimal Step Size
- 3-5 fields per step
- Each step should fit on one screen
- Avoid empty steps
User Experience Tips
Section titled “User Experience Tips”| Do | Don’t |
|---|---|
| Show progress | Hide total steps |
| Allow back navigation | Force linear progression |
| Save progress | Lose data on back button |
| Clear step names | Generic “Step 1, Step 2” |
Step Naming Examples
Section titled “Step Naming Examples”| Good Names | Poor Names |
|---|---|
| ”About You" | "Step 1" |
| "Your Preferences" | "Questions" |
| "Shipping Address" | "Address Info" |
| "Review & Confirm" | "Final” |
Multi-Step Form Flow
Section titled “Multi-Step Form Flow”Typical Flow Structure
Section titled “Typical Flow Structure”Step 1: Introduction / Basic Info ↓Step 2: Detailed Information ↓Step 3: Preferences / Options ↓Step 4: Review ↓Submit → Success MessageNavigation Buttons
Section titled “Navigation Buttons”Each step typically includes:
| Button | Location | Function |
|---|---|---|
| Previous | Bottom left | Go back to previous step |
| Next | Bottom right | Proceed to next step |
| Submit | Bottom right (final step) | Submit the form |
Troubleshooting
Section titled “Troubleshooting”Fields Not Showing in Steps
Section titled “Fields Not Showing in Steps”- Make sure you’re on the correct step tab
- Check if conditional logic is hiding the field
- Verify the field wasn’t accidentally deleted
Steps Not Appearing
Section titled “Steps Not Appearing”- Check if step conditional logic is configured
- Ensure the step has at least one visible field
- Verify the step wasn’t deleted
Navigation Issues
Section titled “Navigation Issues”- Check button settings in form configuration
- Verify all required fields are filled
- Look for validation errors on current step