Create Your First Form
This guide will walk you through creating your first form using Qivra Form Builder’s intuitive drag-and-drop interface.
Step 1: Create a New Form
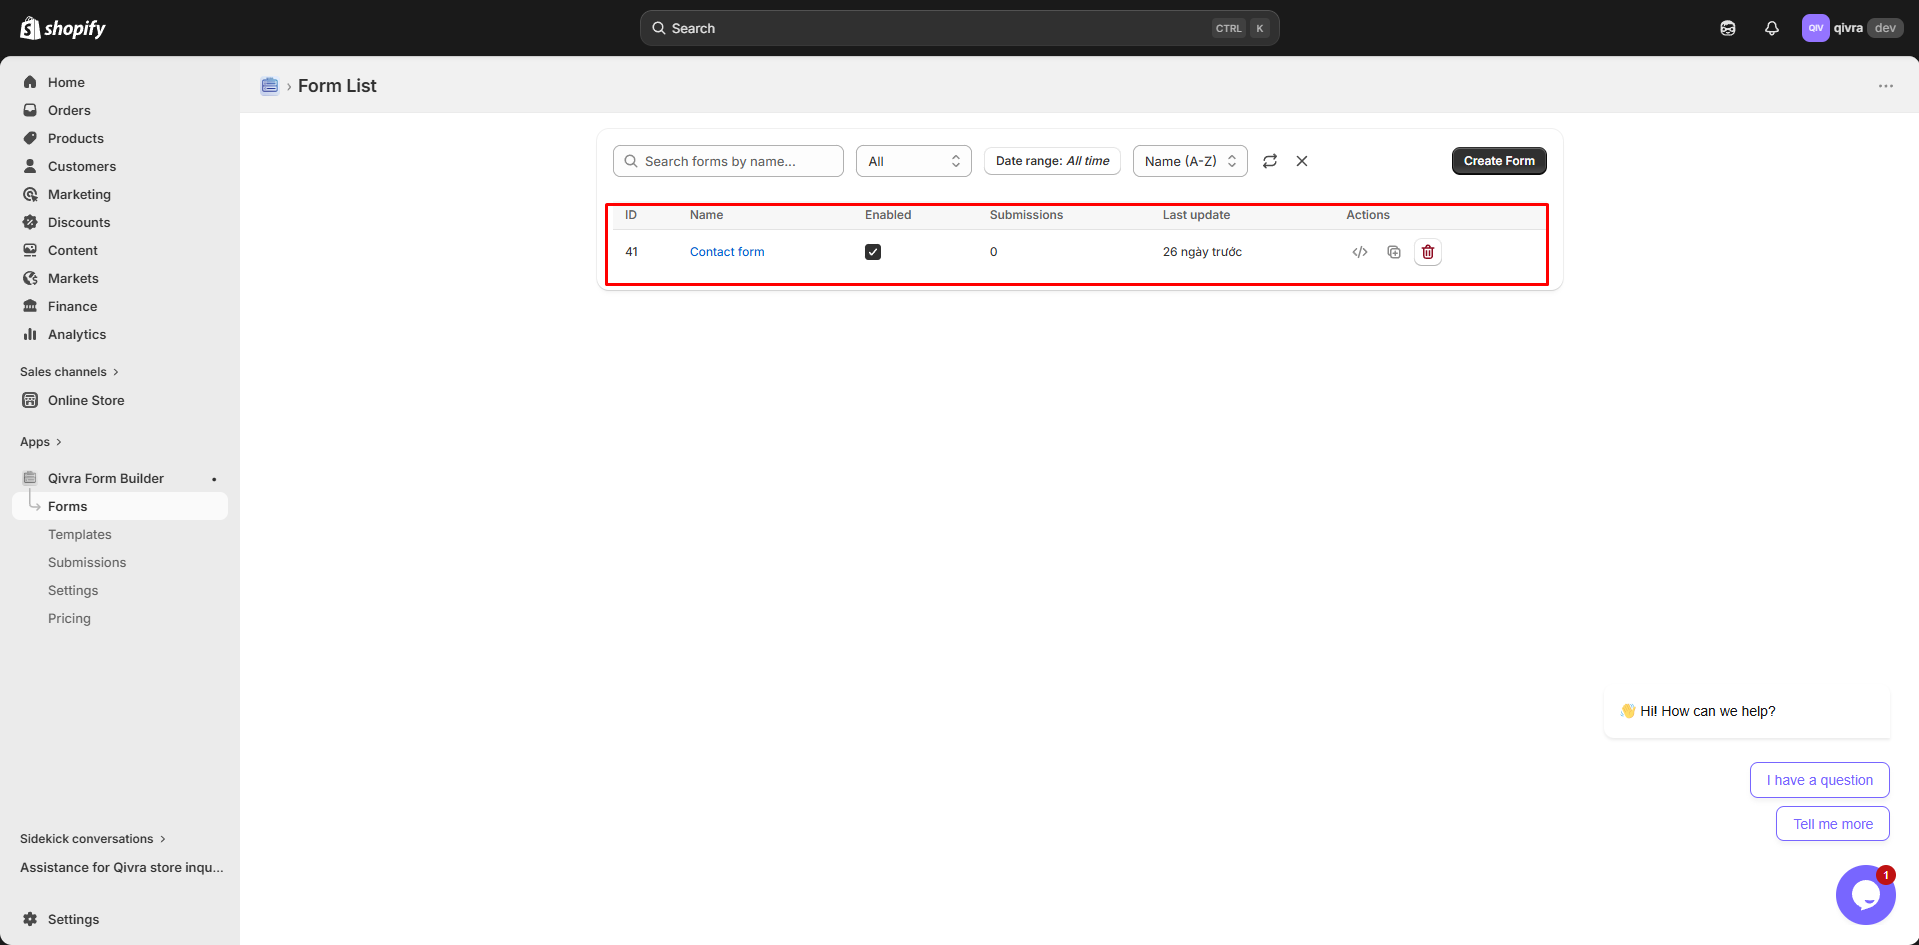
Section titled “Step 1: Create a New Form”- From the app dashboard, go to Forms in the sidebar
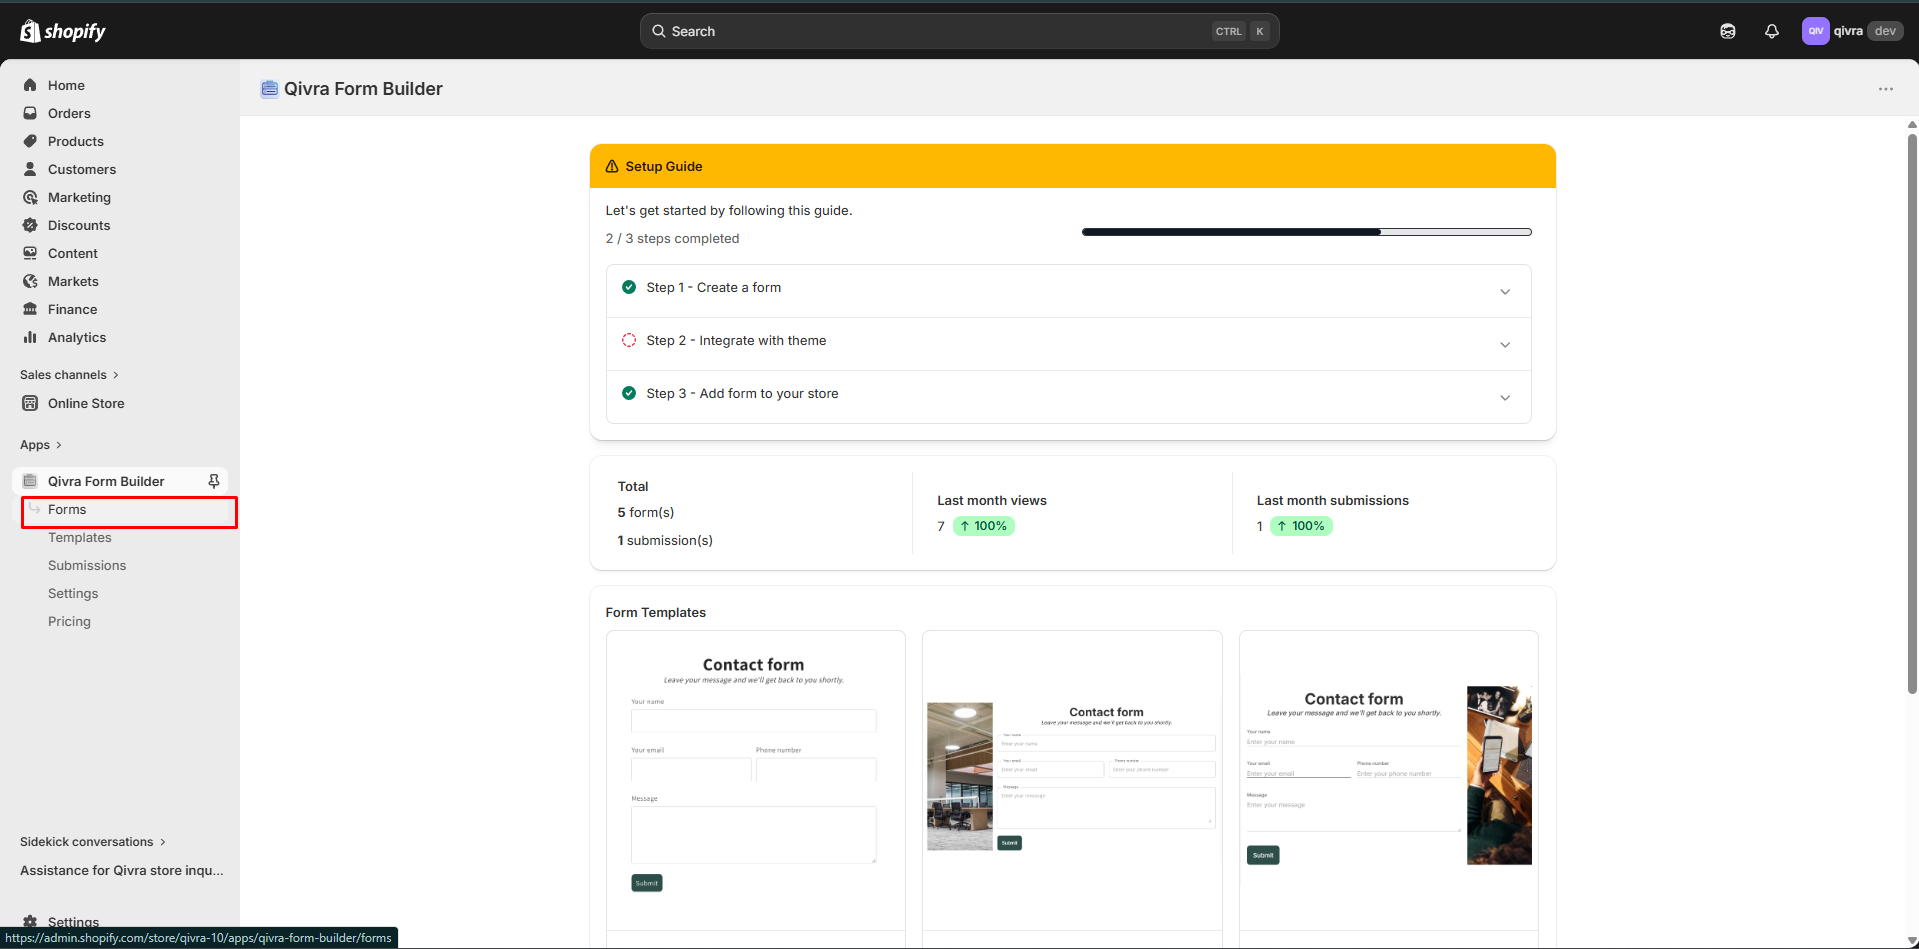
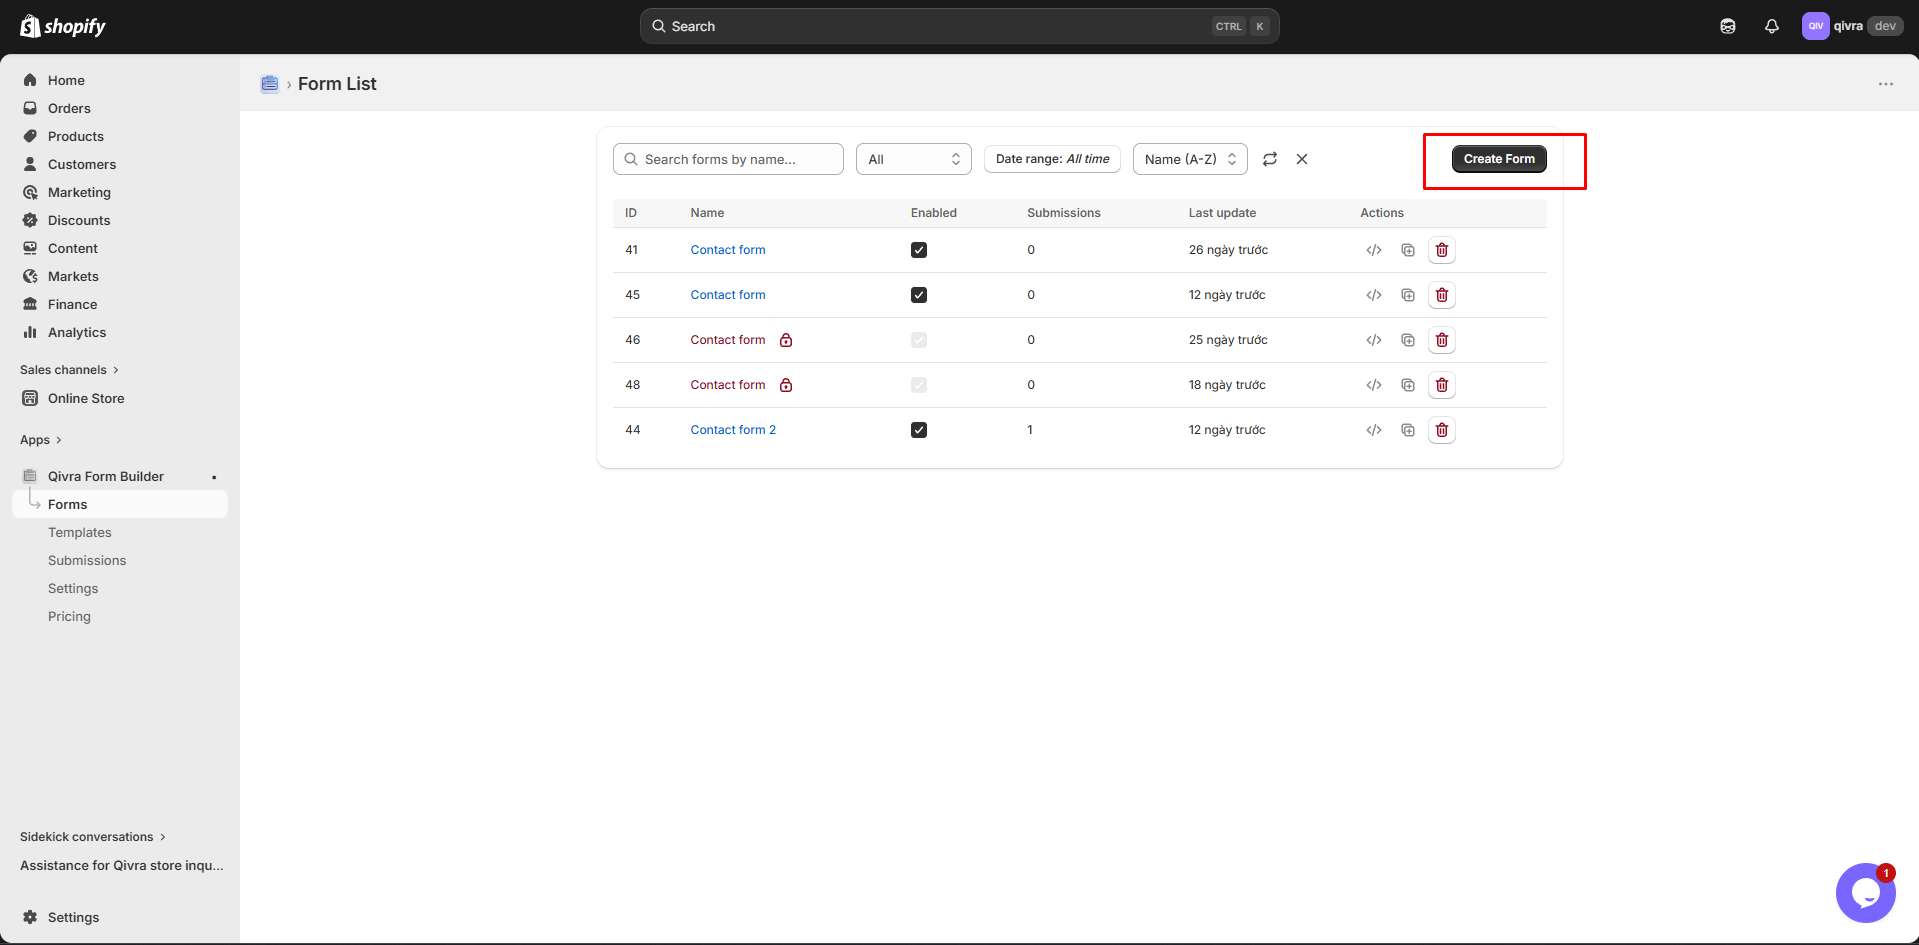
- Click Create new form button
-
Choose how you want to start:
Option Best For Blank Form Custom forms with full control Template Quick start with pre-designed forms
Step 2: Choose a Starting Point
Section titled “Step 2: Choose a Starting Point”Starting with Blank Form
Section titled “Starting with Blank Form”Select Blank Form if you want to build everything from scratch. You’ll start with an empty canvas where you can add any fields you need.
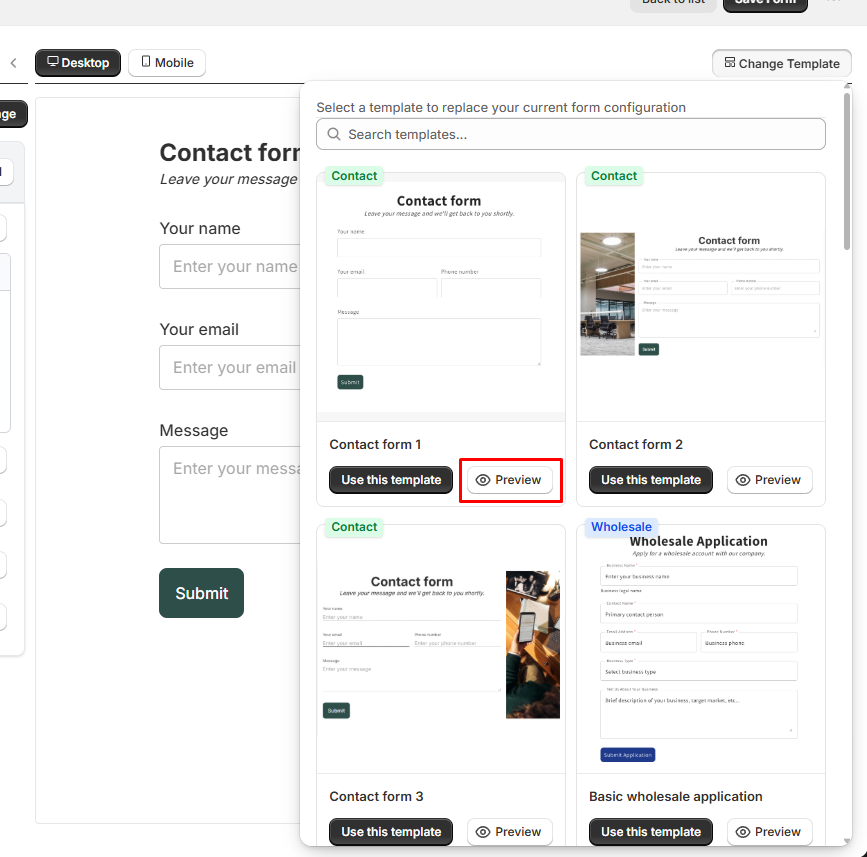
Starting with a Template
Section titled “Starting with a Template”- Browse templates by category (Contact, Wholesale, Booking, etc.)
- Click on a template to preview it
- Click Use this template to create your form
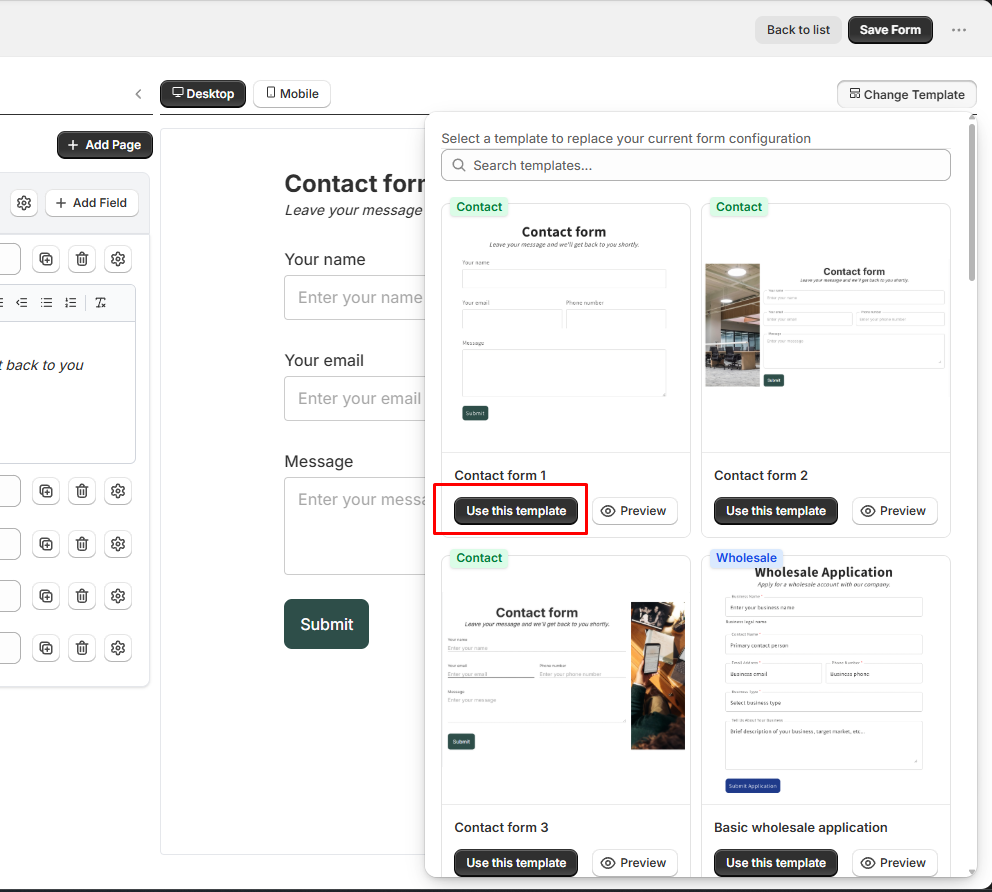
Available template categories:
- Contact forms
- Wholesale application
- Booking & reservation
- Return requests
- Survey & feedback
- Warranty registration
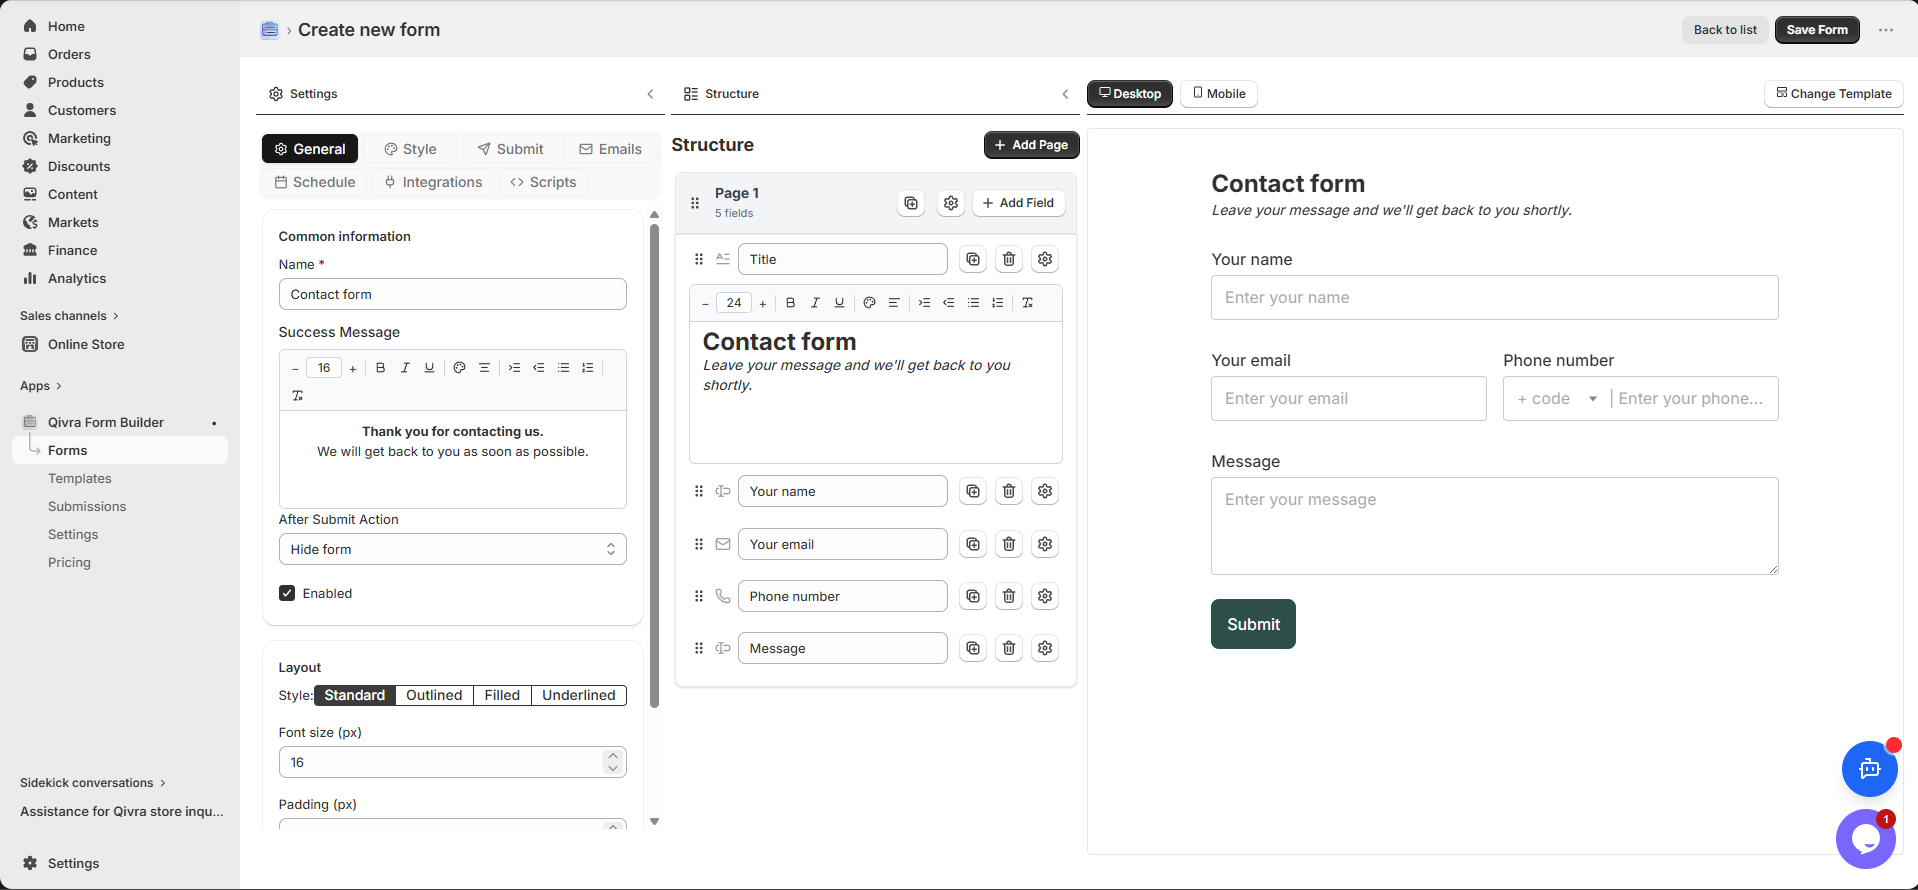
Step 3: Understand the Form Builder Interface
Section titled “Step 3: Understand the Form Builder Interface”The form builder has three main areas:
Left Panel - Fields & Settings
Section titled “Left Panel - Fields & Settings”- Add Elements: Click to see all available field types
- Field Settings: Configure the selected field’s properties
- Form Settings: Overall form configuration
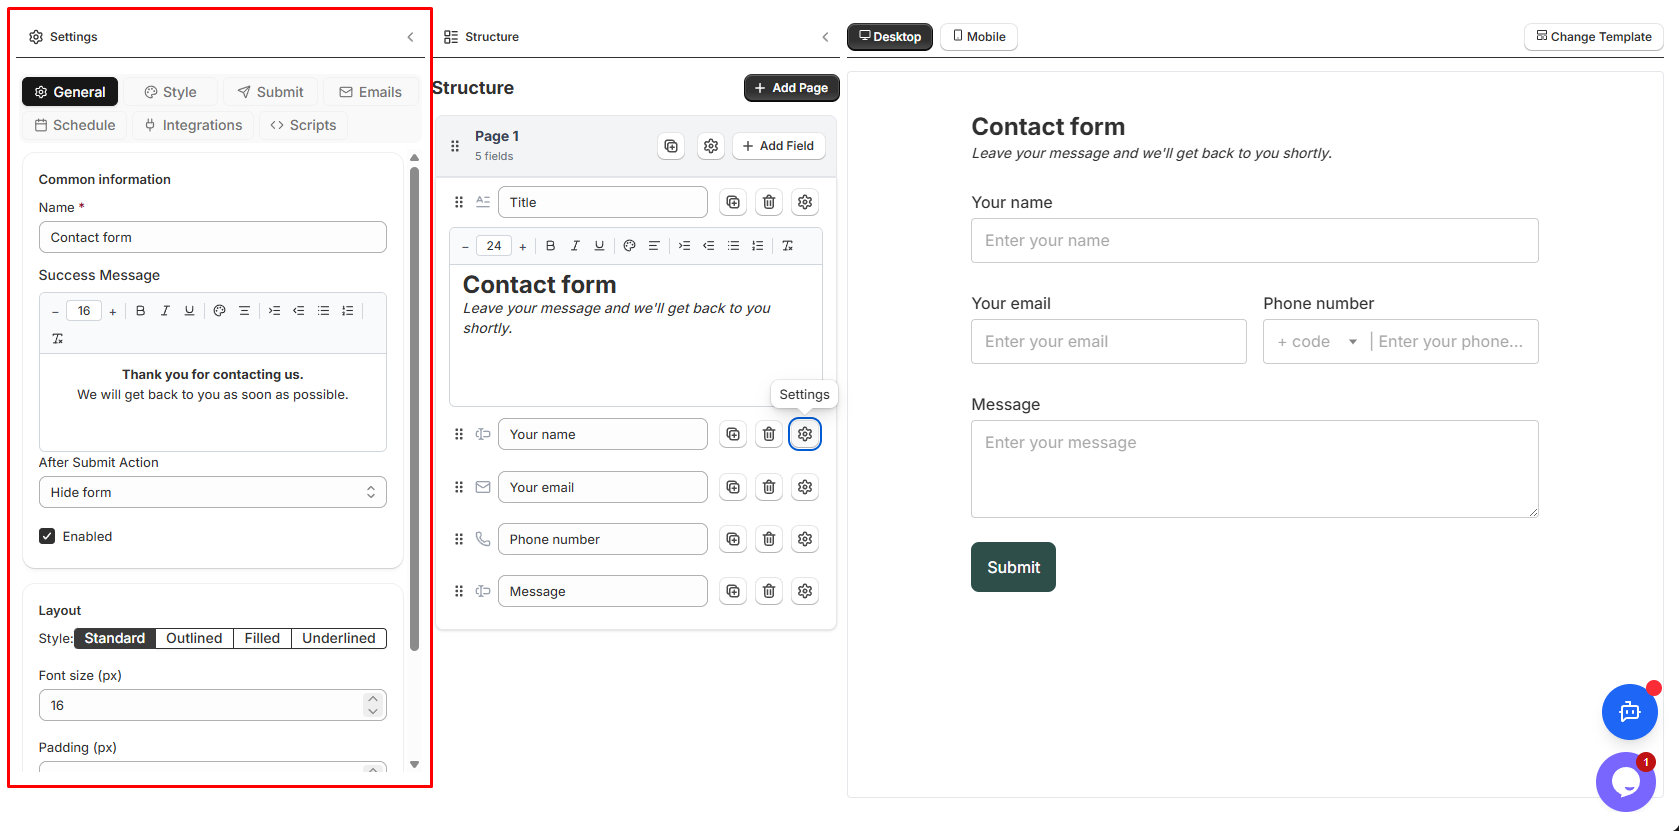
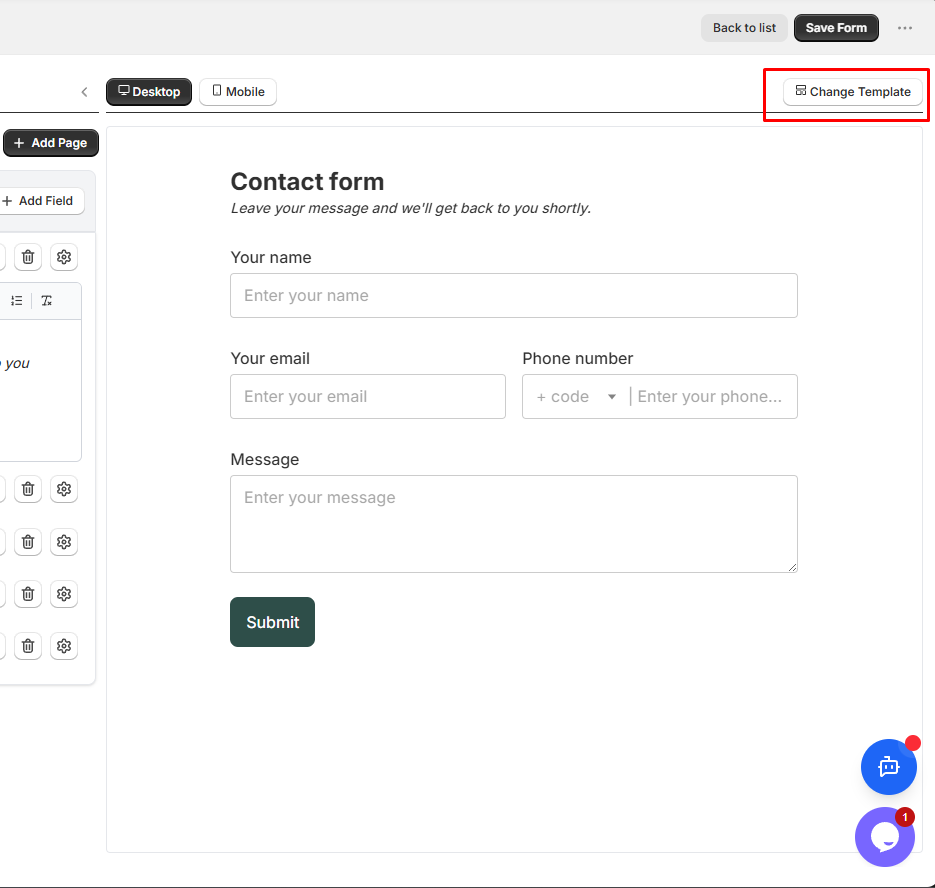
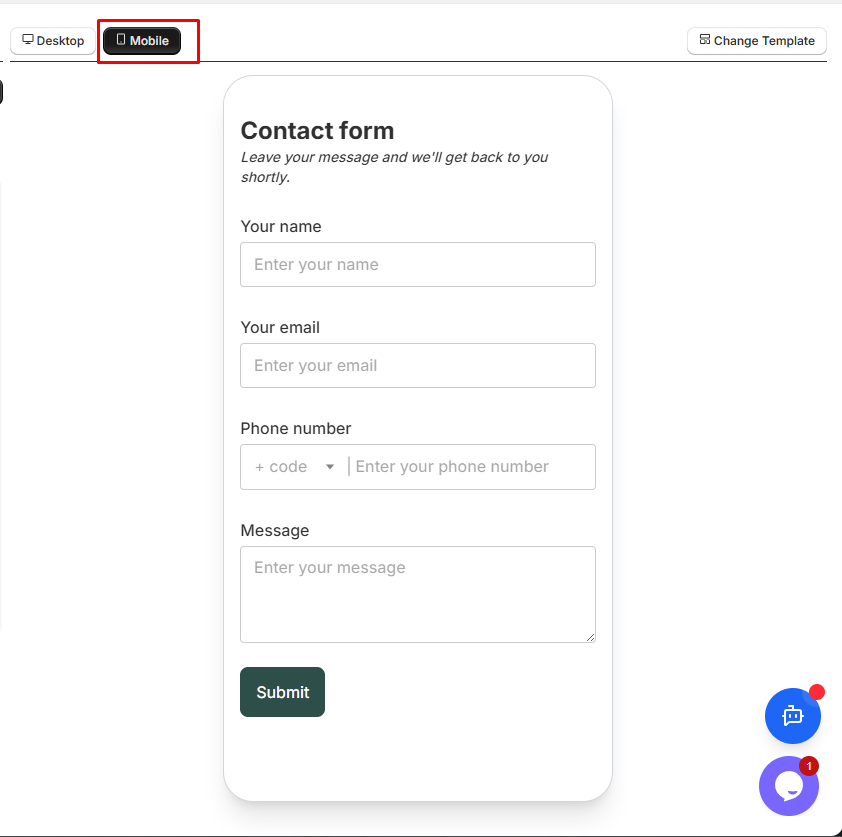
Right Panel - Live Previews
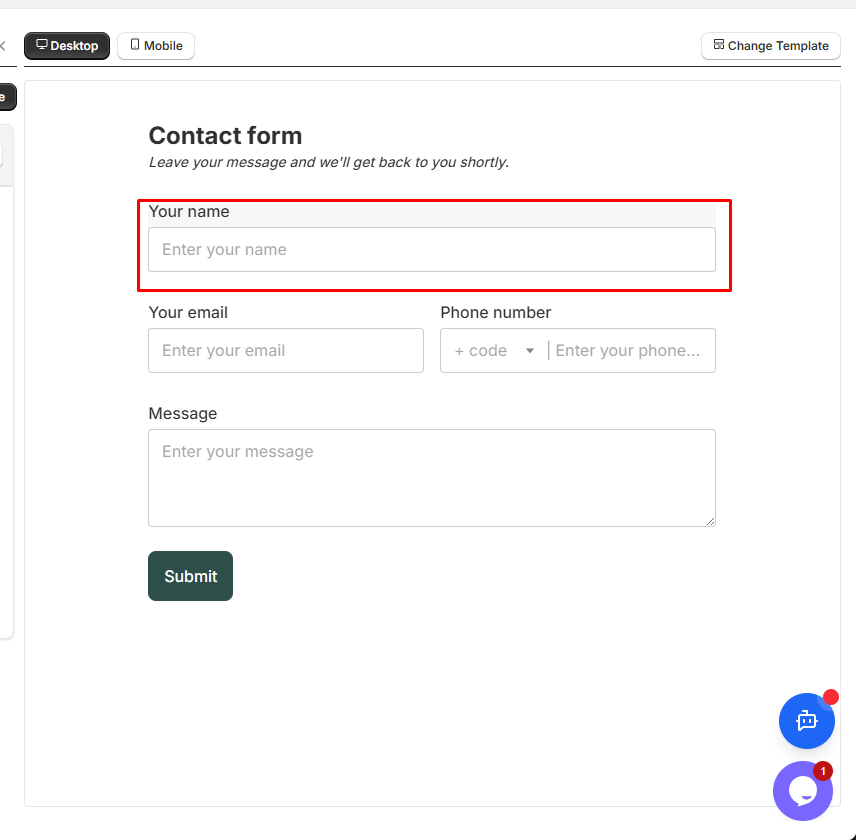
Section titled “Right Panel - Live Previews”- See your form as customers will see it
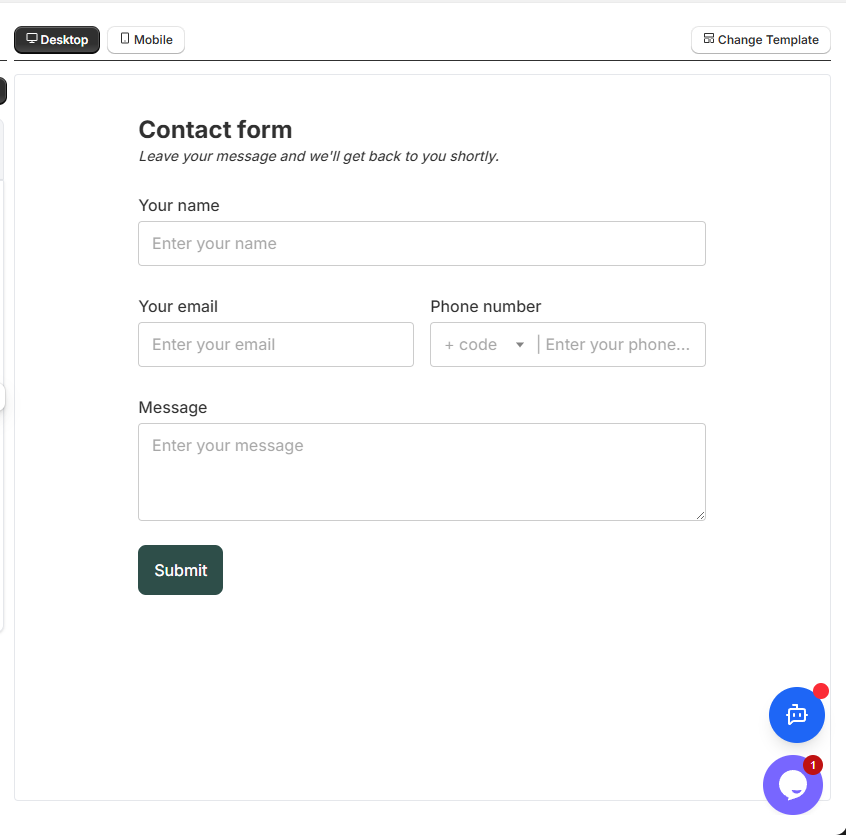
- Click any field to select and edit it
- Desktop/Mobile toggle at the top
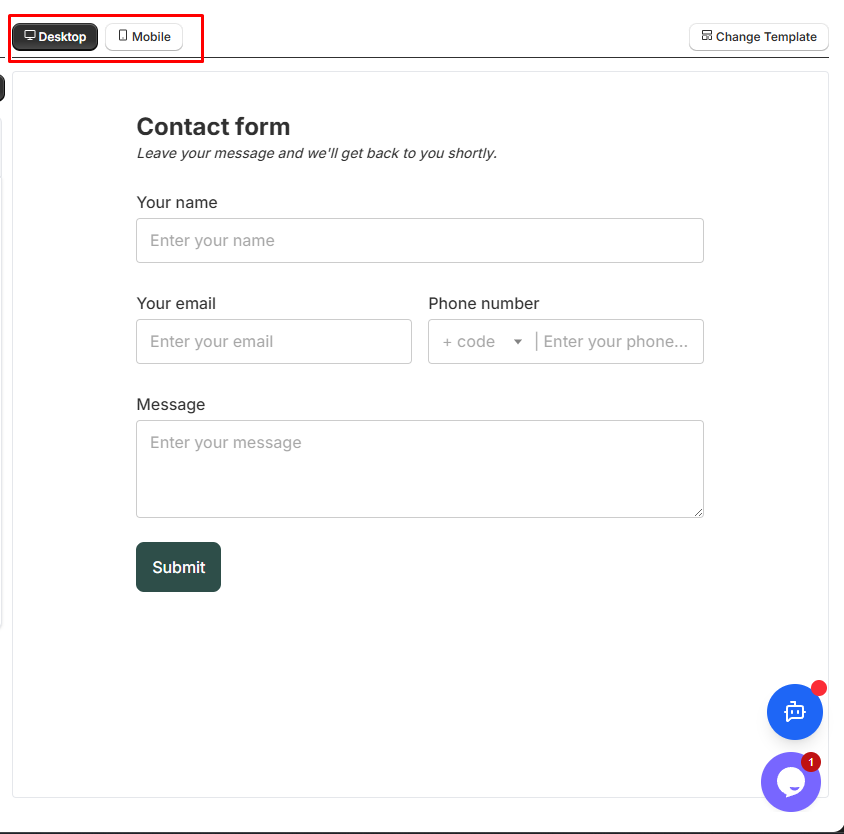
Top Toolbar
Section titled “Top Toolbar”- Desktop/Mobile Preview: Switch between view modes
- Save Button: Save all your changes
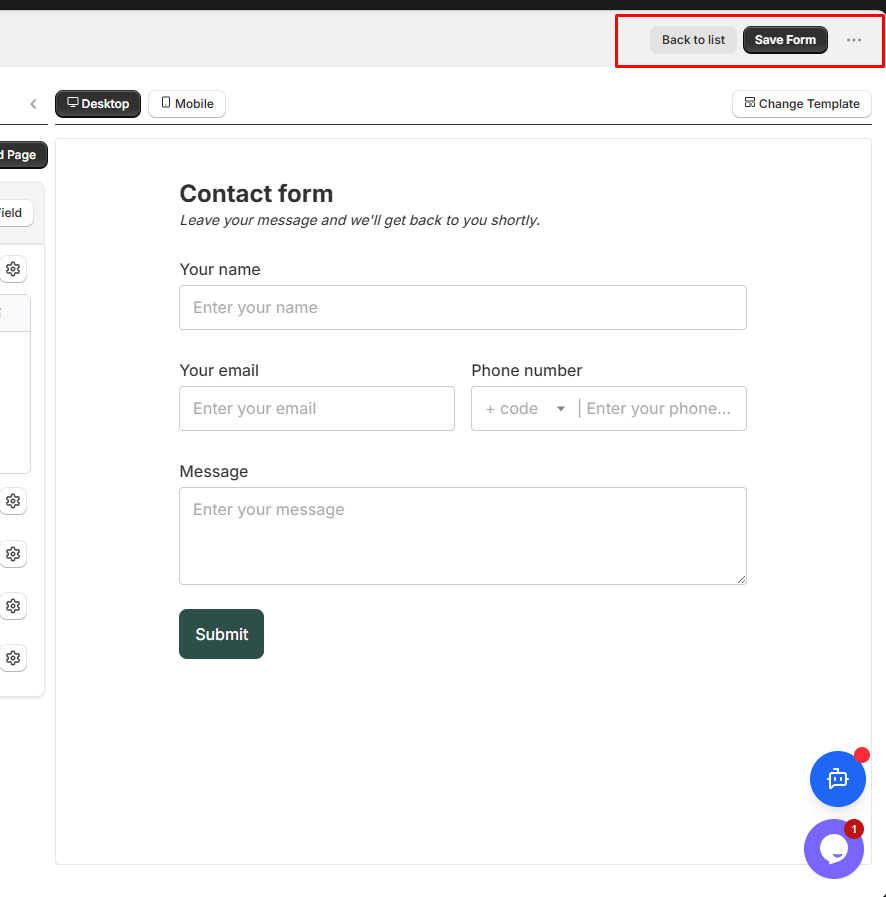
- Preview: Open form in a new tab
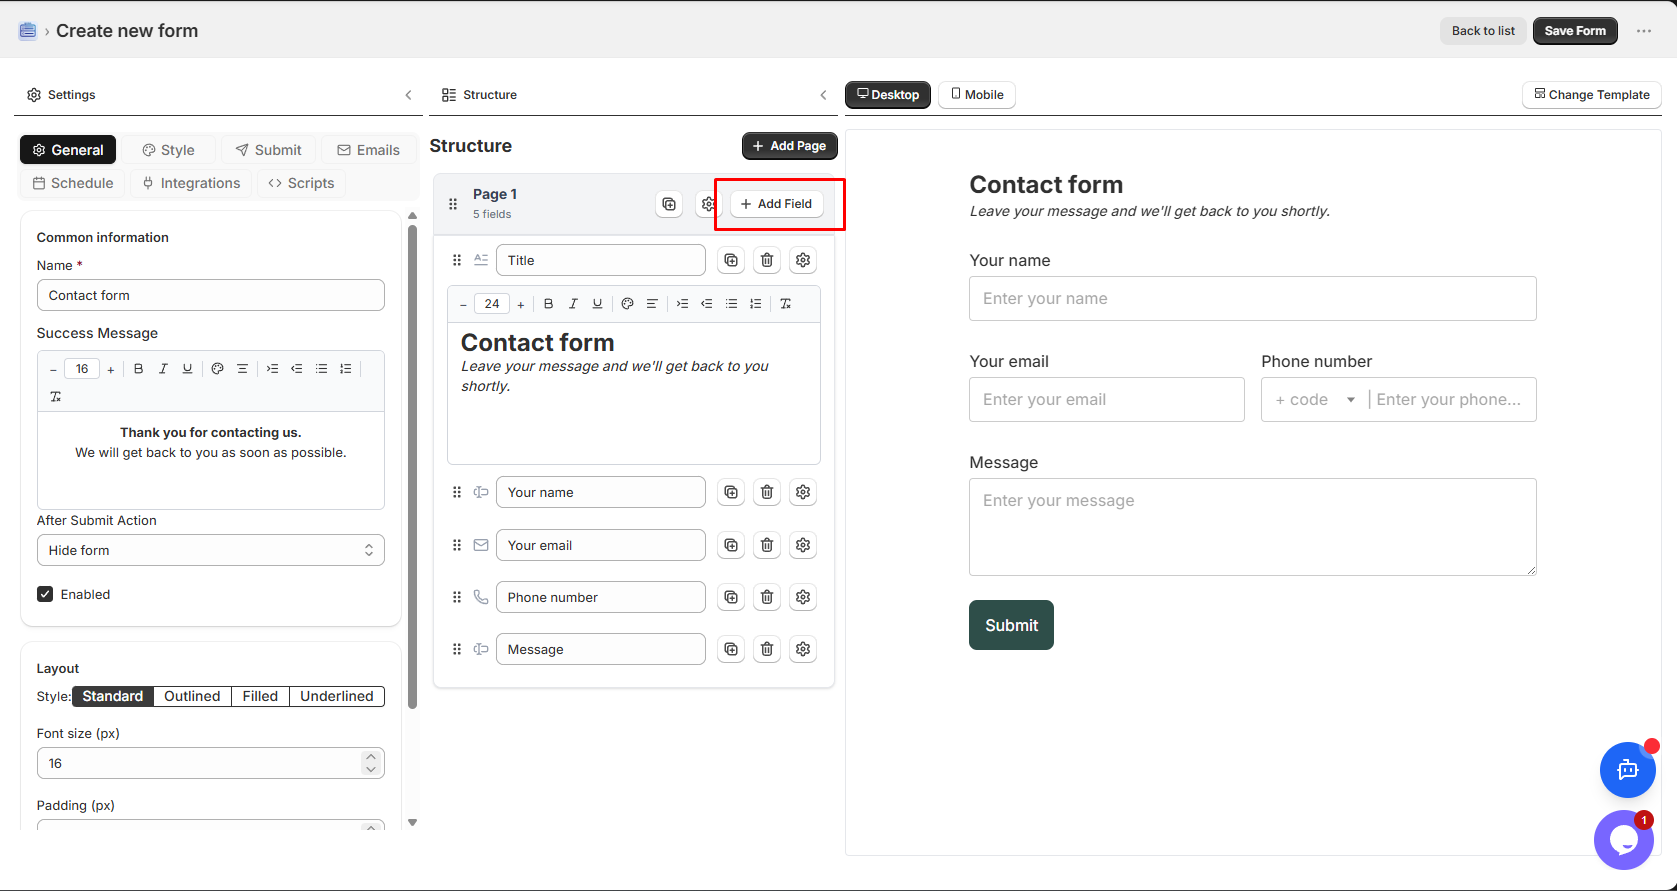
Step 4: Add Fields to Your Form
Section titled “Step 4: Add Fields to Your Form”- Click Add Elements in the left panel
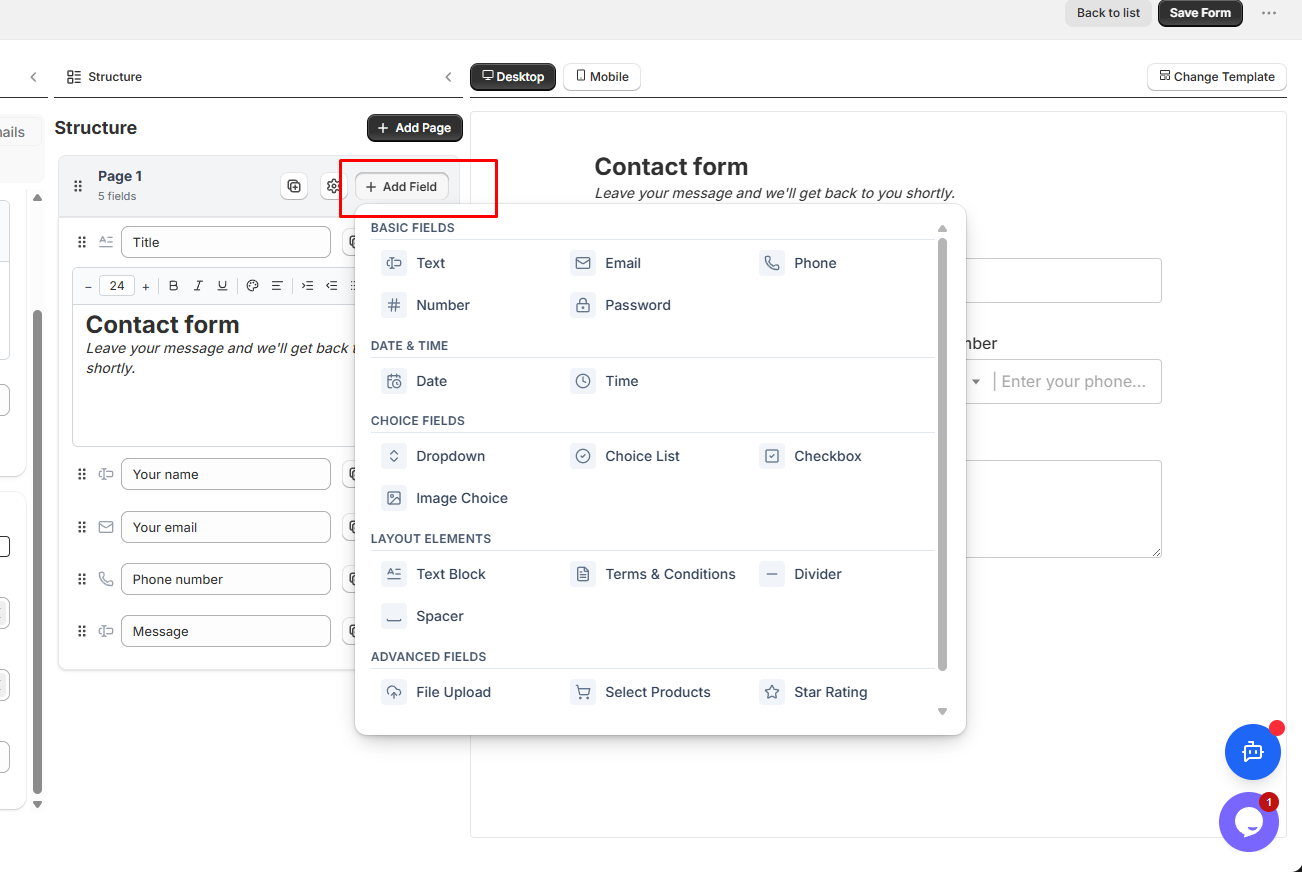
-
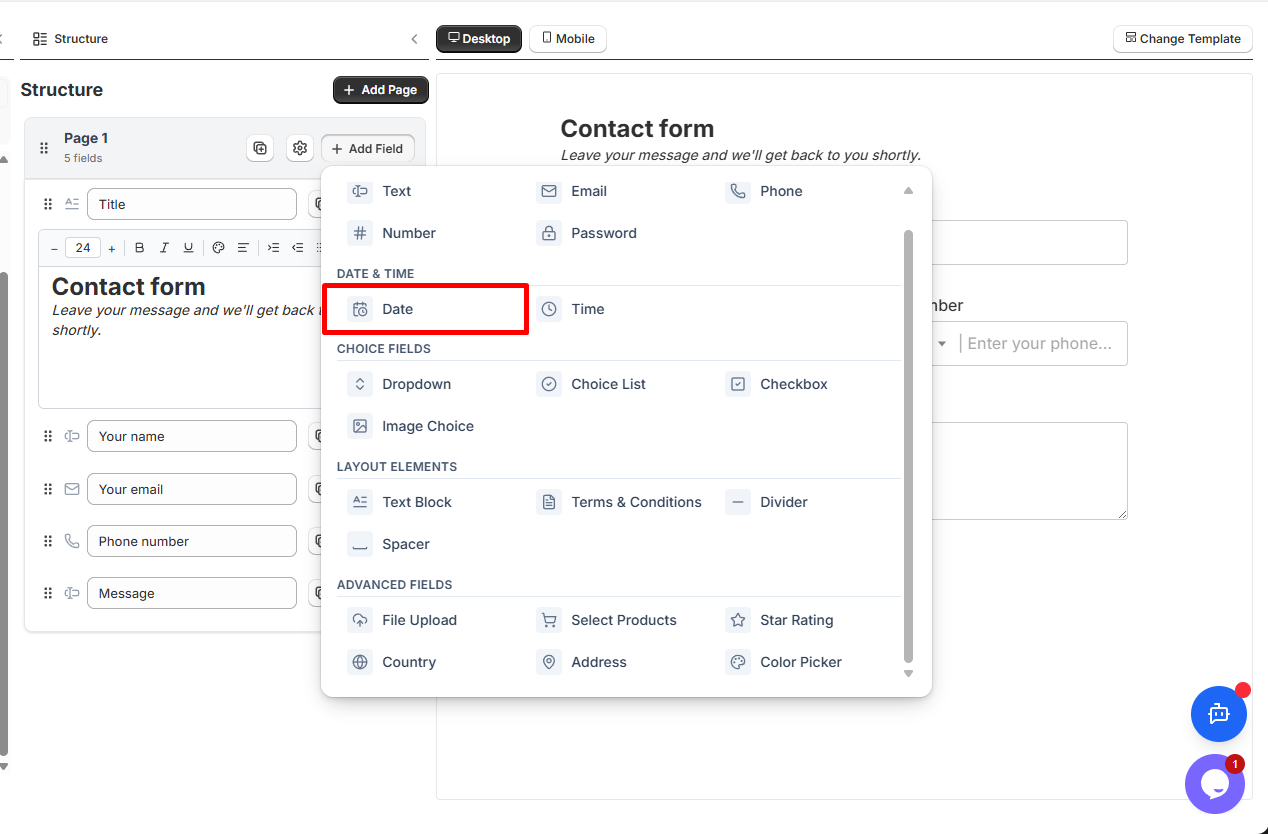
Choose a field type from the available options:
Field Type Use For Text Names, addresses, custom text Email Email addresses with validation Phone Phone numbers Number Quantities, ages, numeric values Date Date selection (birthdays, appointments) Dropdown Single selection from a list Checkbox Multiple selections or single agreement Radio Single selection from visible options File Upload Documents, images, attachments Divider Visual separation between sections Text Block Instructions, headings, descriptions -
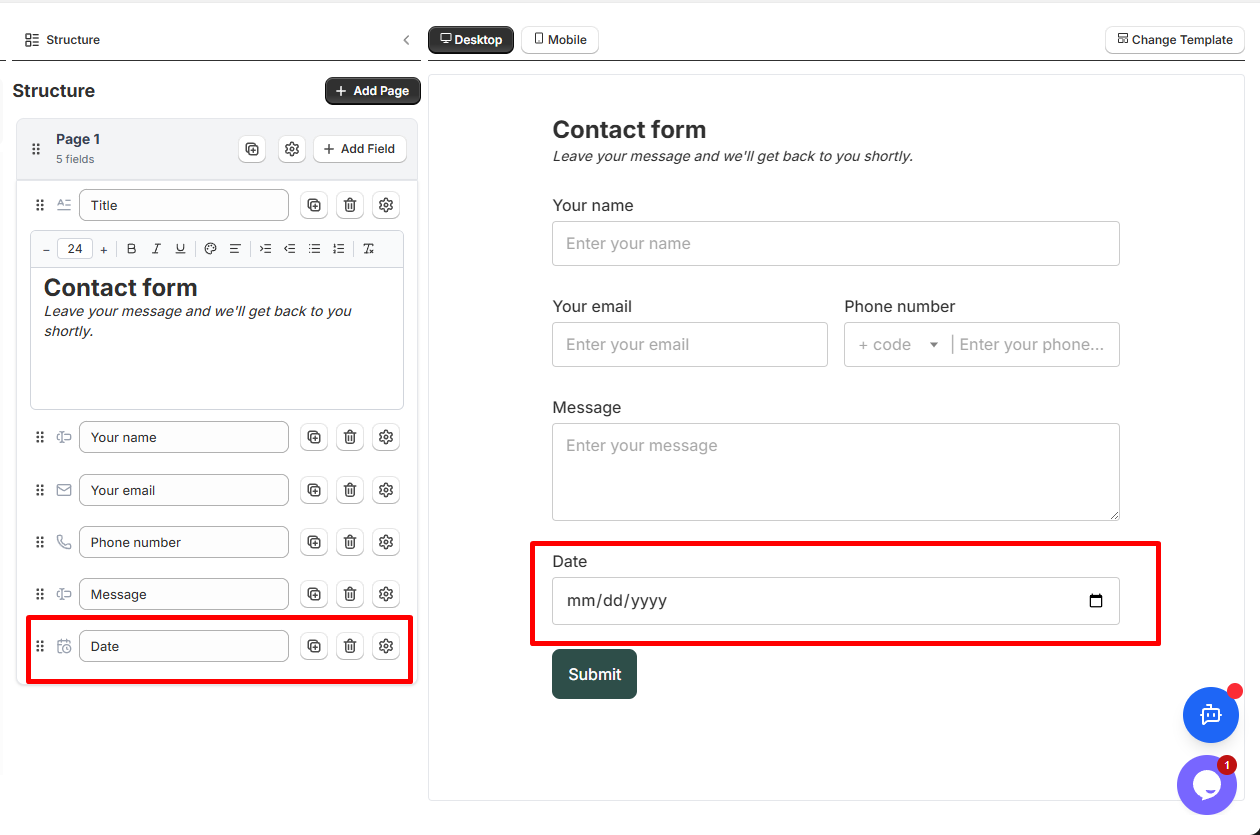
Click on a field type to add it to your form
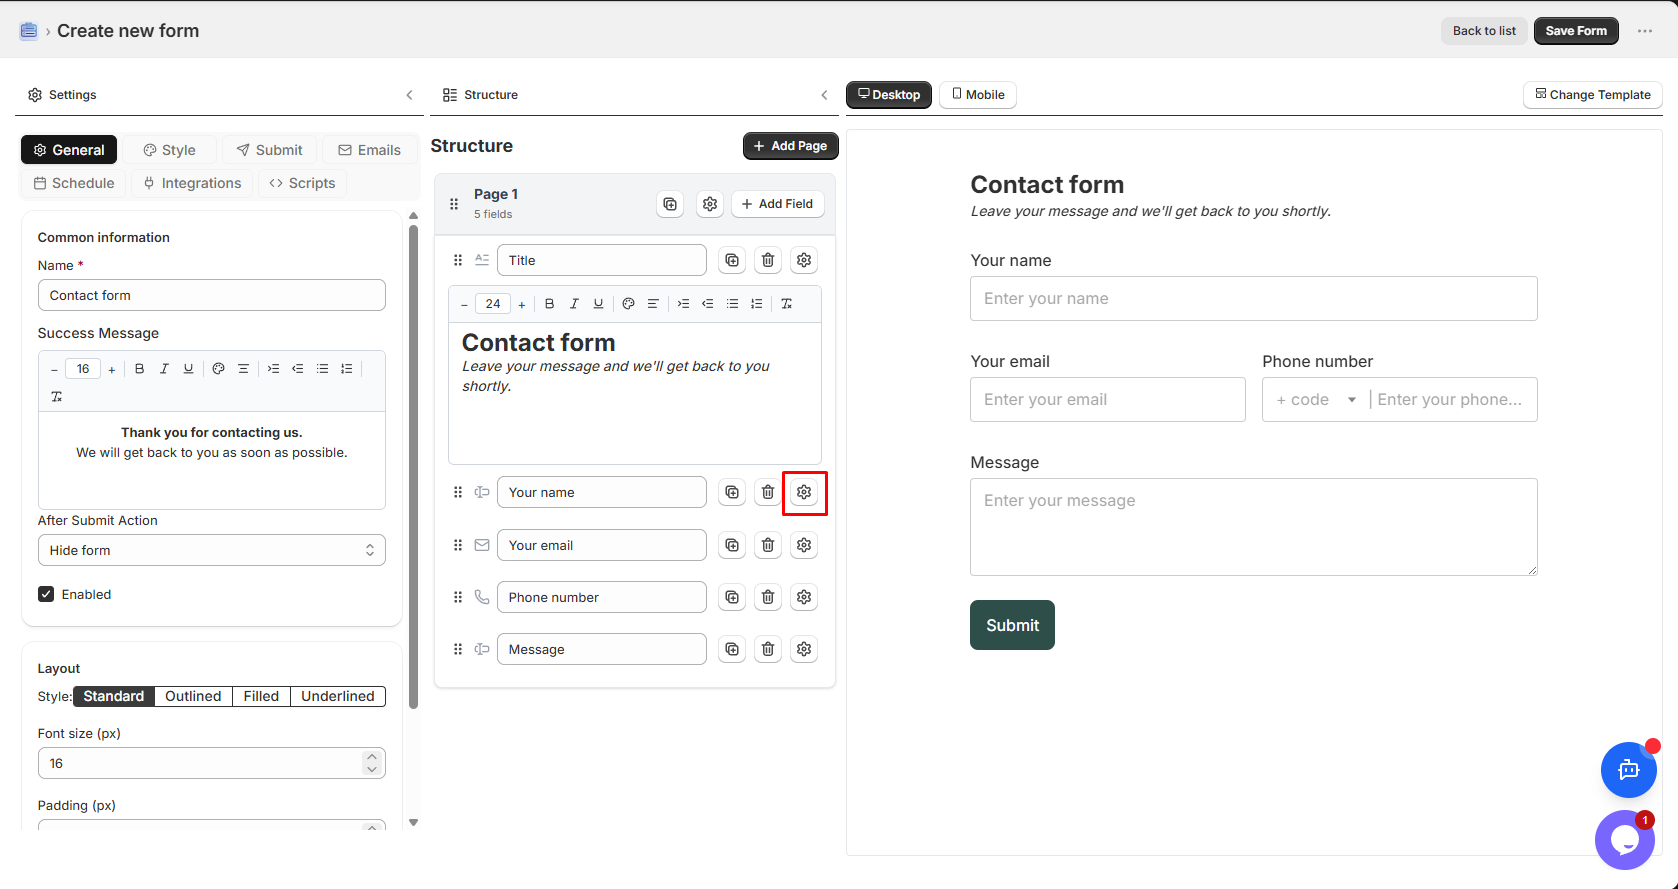
Step 5: Configure Field Settings
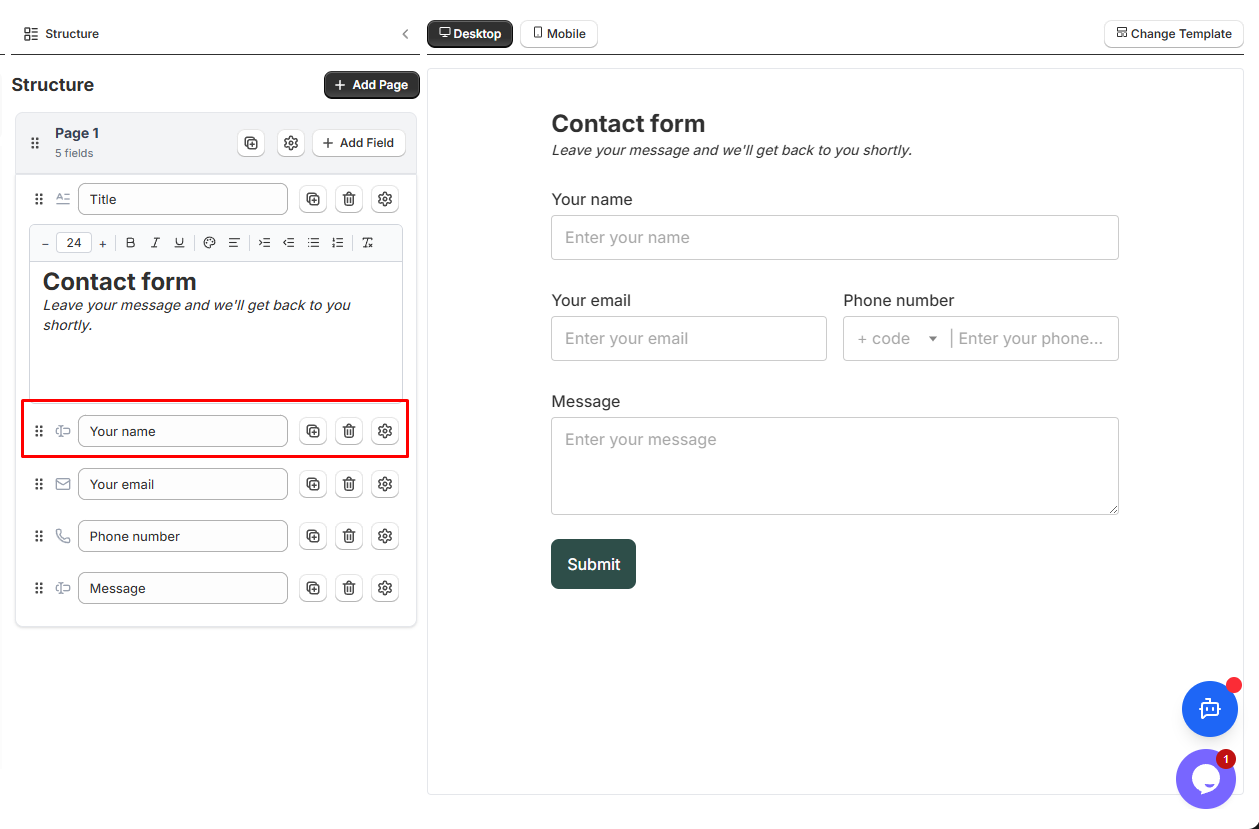
Section titled “Step 5: Configure Field Settings”After adding a field, click on it in the preview to see its settings:
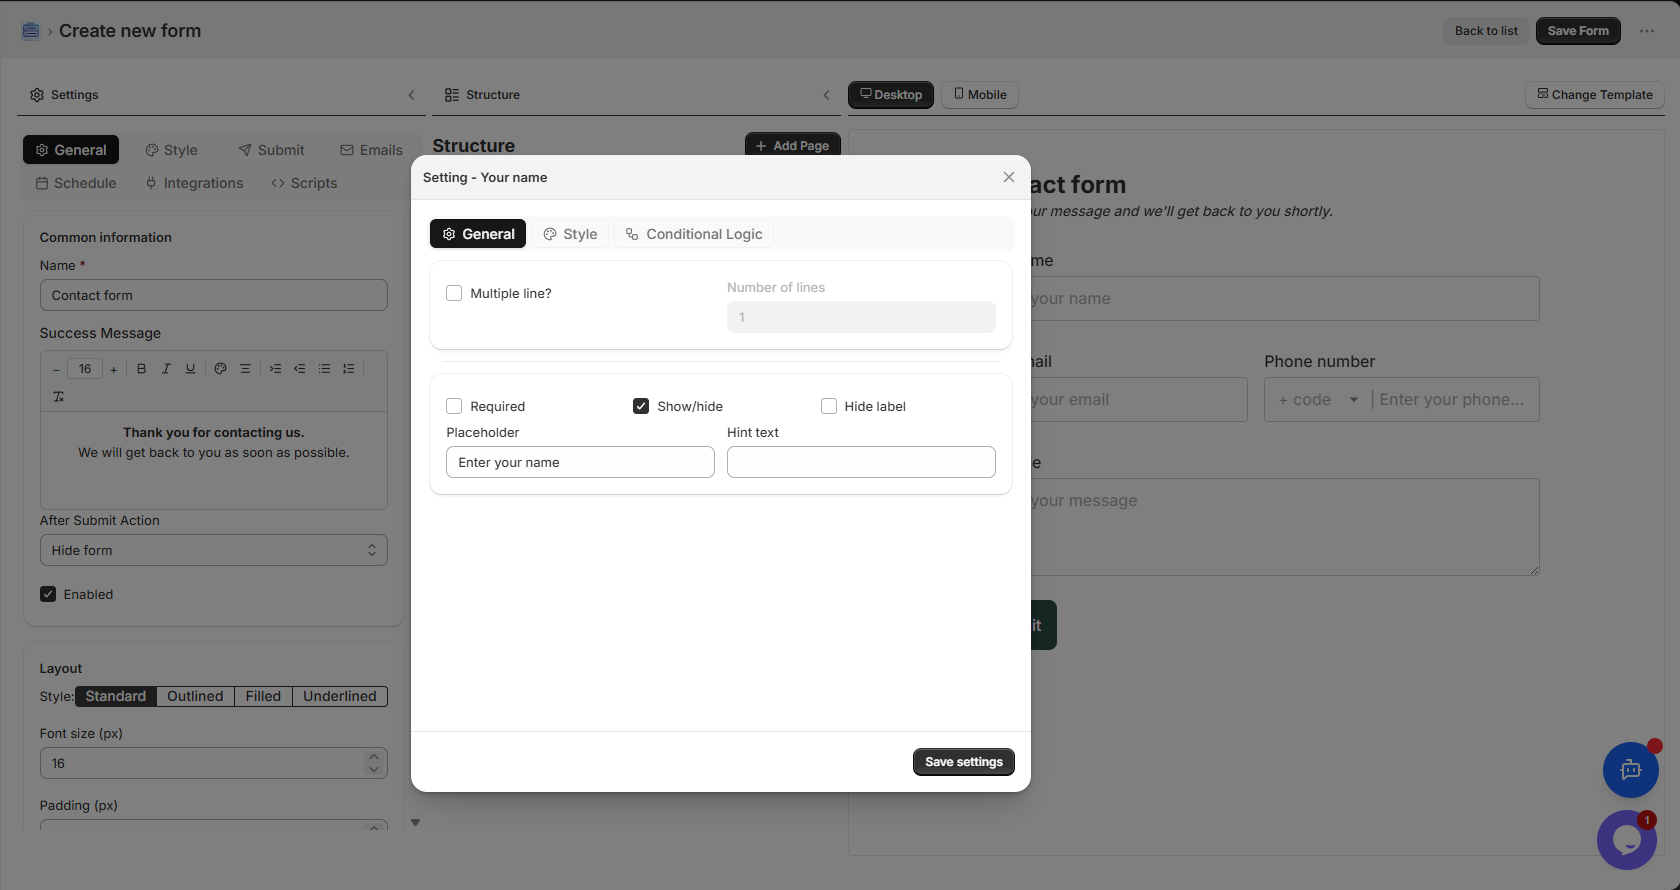
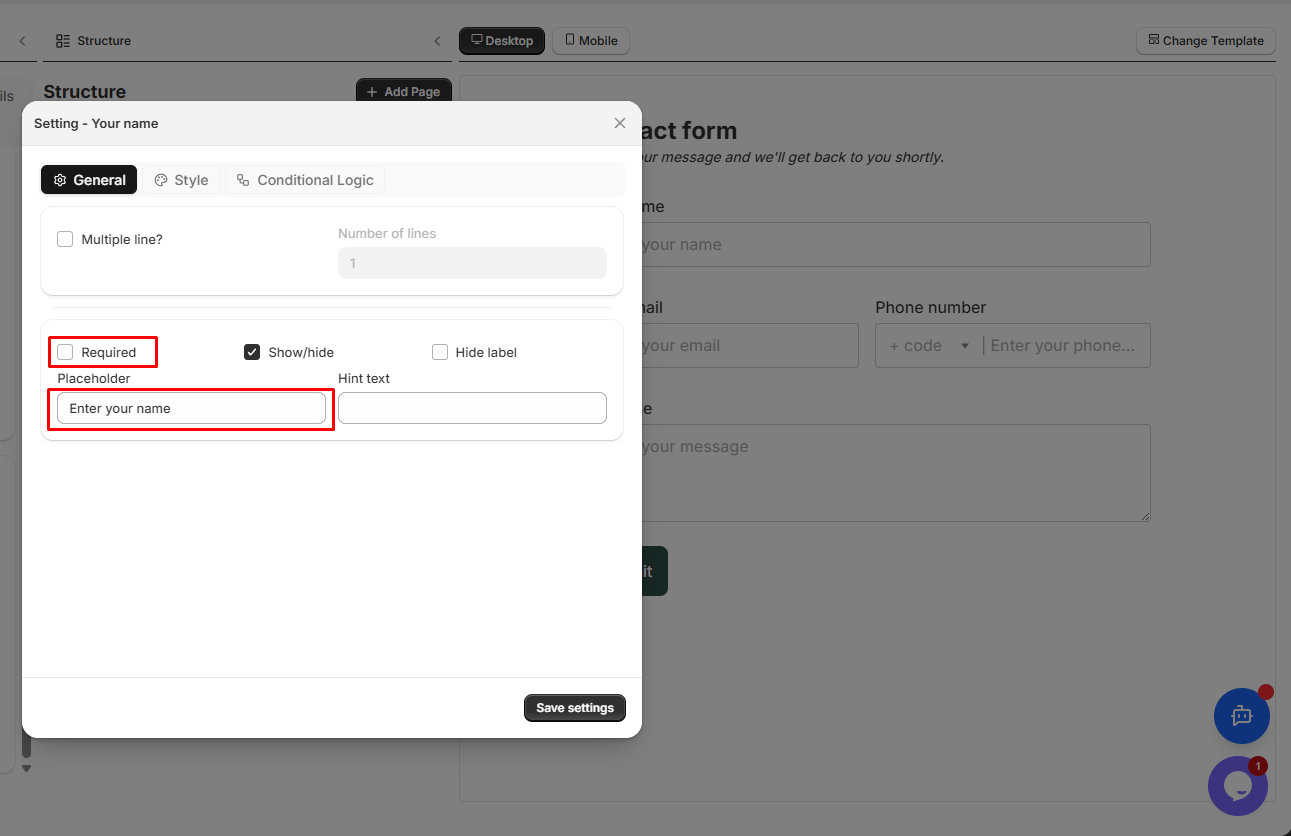
Basic Settings
Section titled “Basic Settings”- Label: The field name shown to customers
- Placeholder: Hint text inside the field
- Required: Make the field mandatory
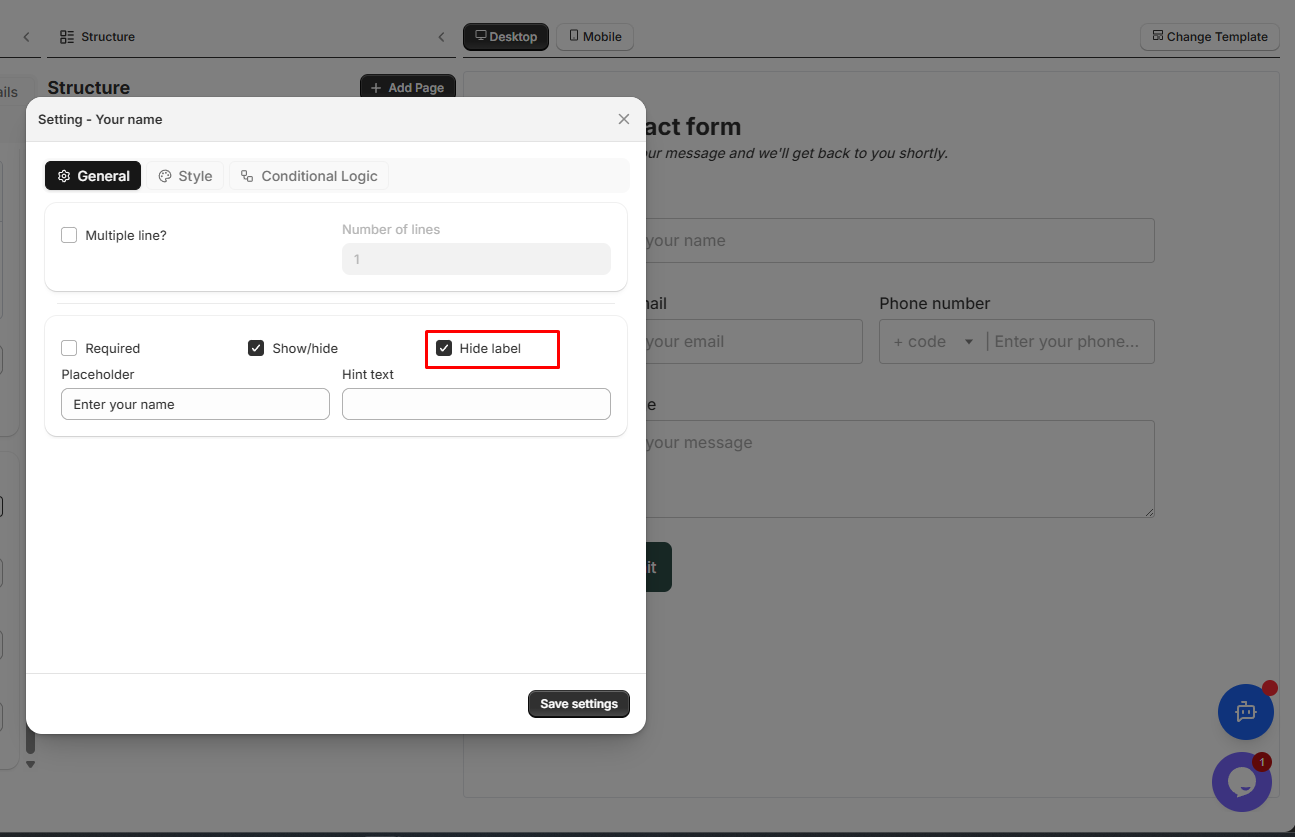
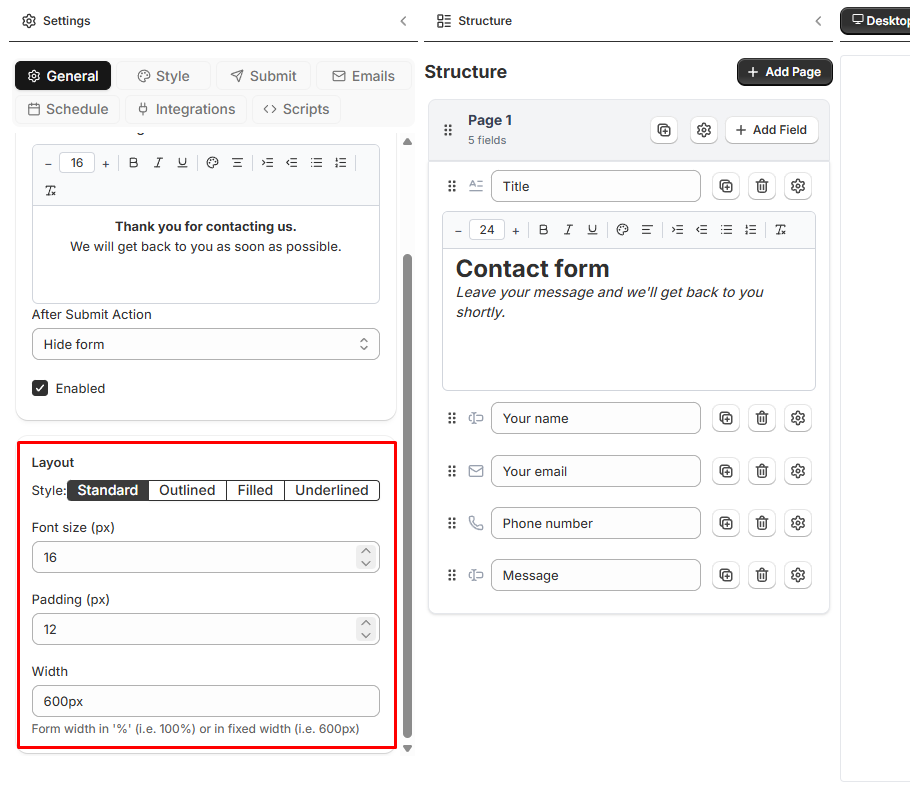
Layout Settings
Section titled “Layout Settings”- Column Width: Choose 1/4, 1/3, 1/2, or full width
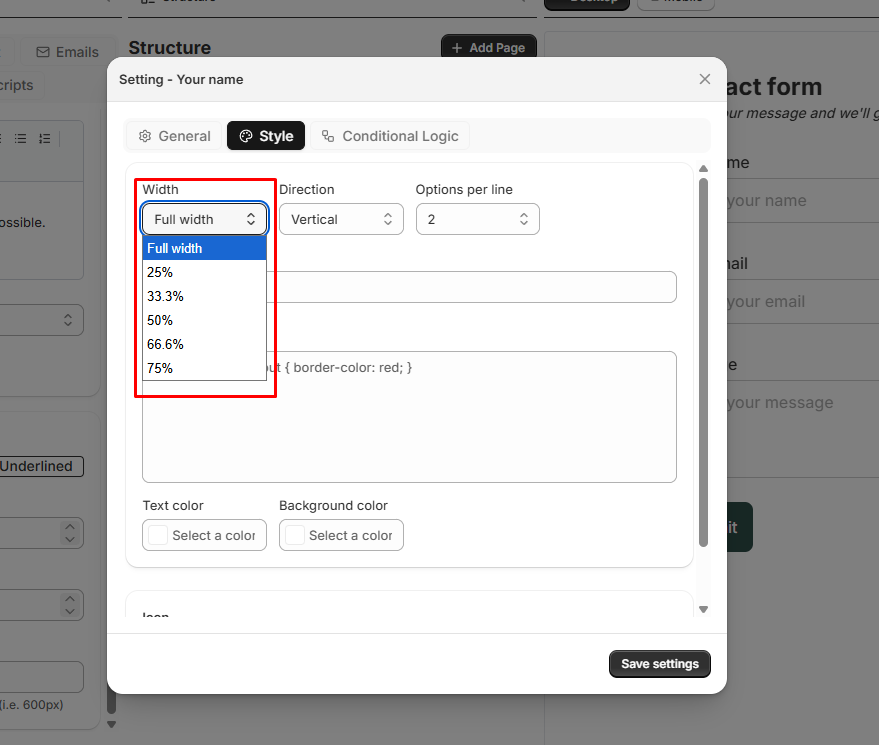
- Hide Label: Remove the label text
- Keep Label Space: Maintain spacing without showing label
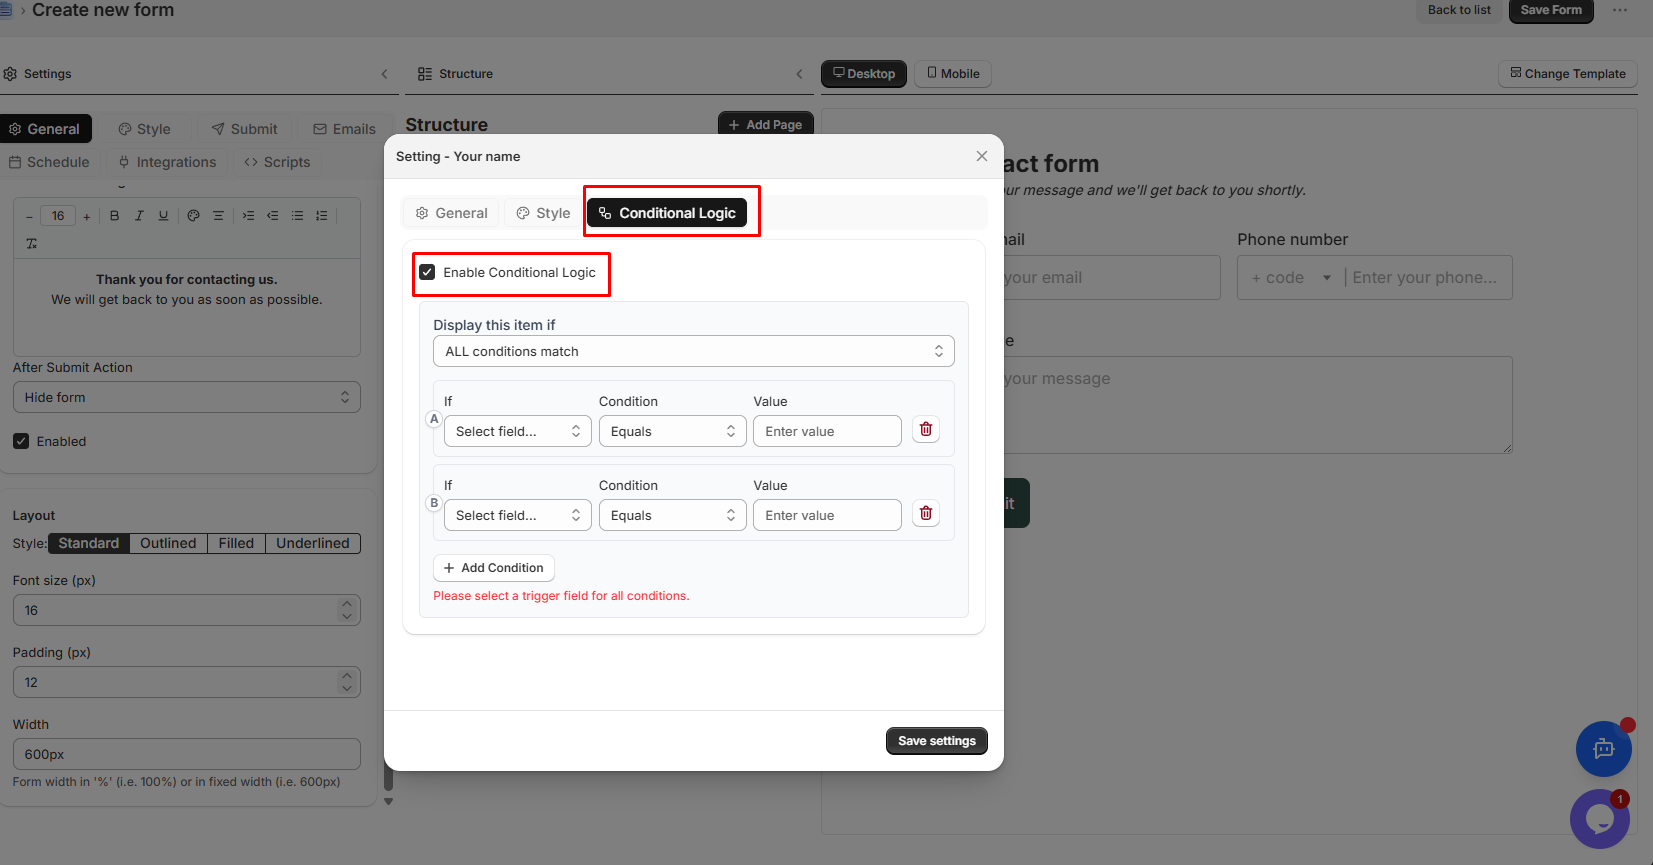
Advanced Settings
Section titled “Advanced Settings”- Default Value: Pre-fill the field
- Validation Rules: Set minimum/maximum values
- Conditional Logic: Show/hide based on other fields
Step 6: Reorder and Organize Fields
Section titled “Step 6: Reorder and Organize Fields”Use the field toolbar (appears when hovering over a field):
| Action | What It Does |
|---|---|
| Move | Drag to reorder the field |
| Width | Quickly change field width |
| Duplicate | Create a copy of the field |
| Hide | Temporarily hide from customers |
| Delete | Remove the field permanently |
Step 7: Configure Form Settings
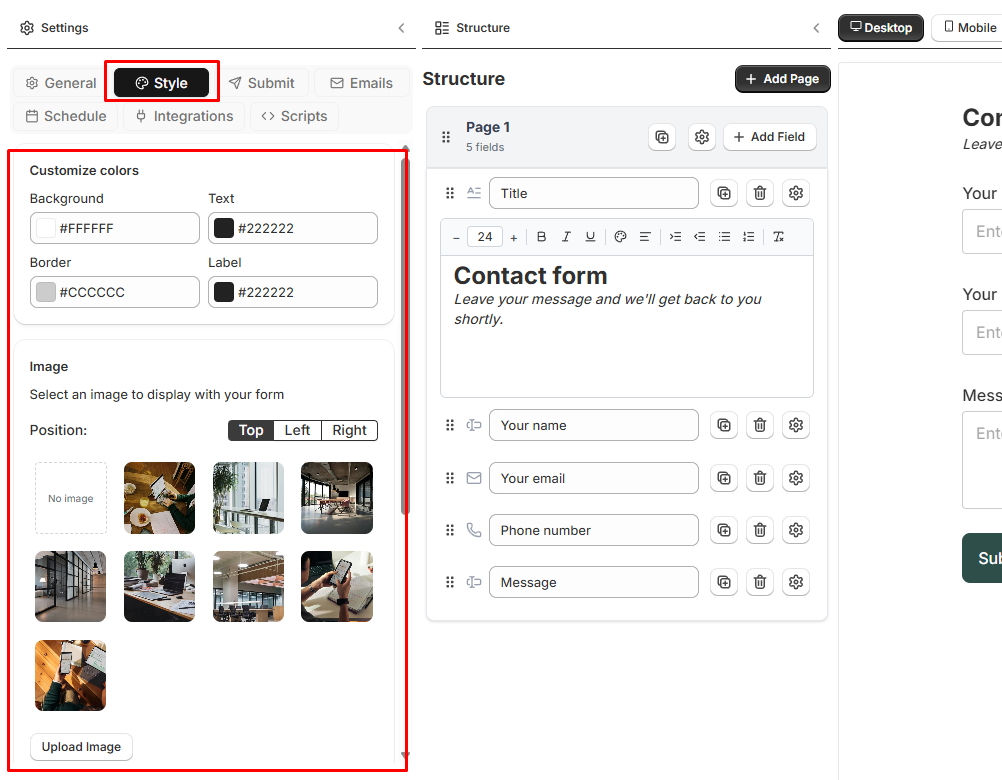
Section titled “Step 7: Configure Form Settings”Click on the form background or go to Form Settings to configure:
- Form Name: Internal name for your reference
- Success Message: What customers see after submitting
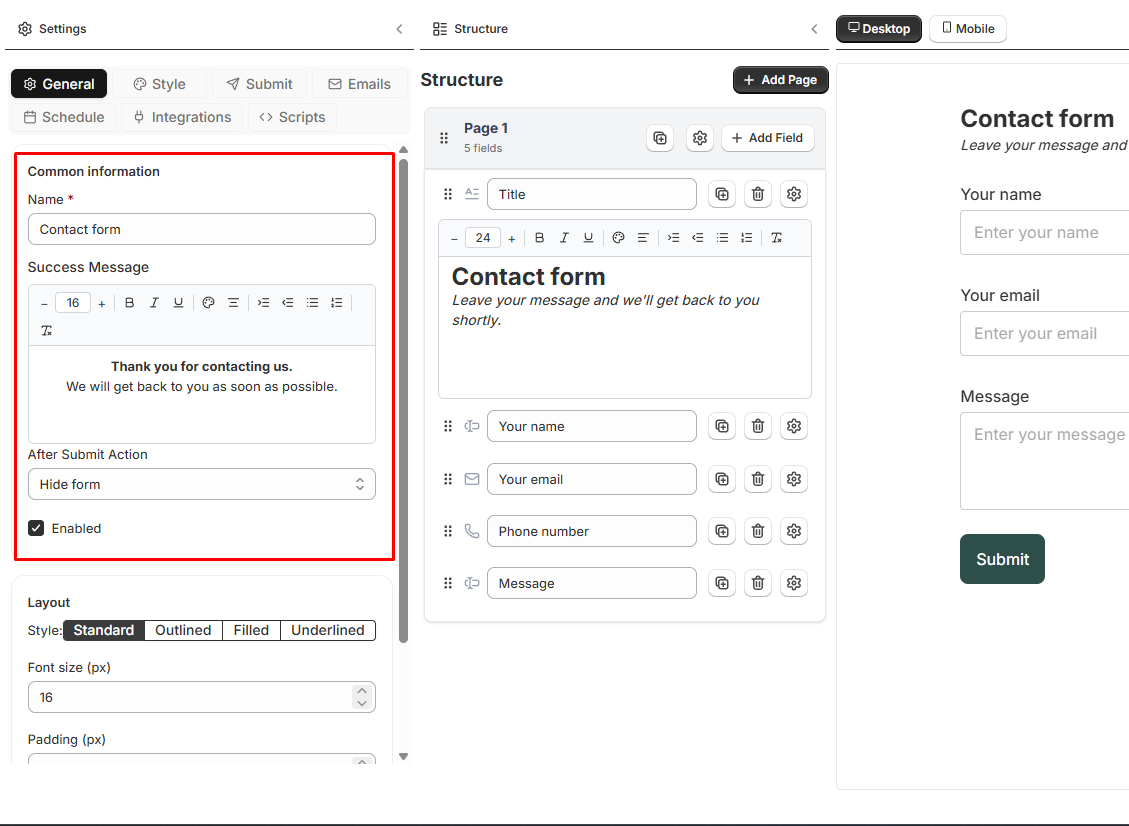
- Font Settings: Size and spacing
- Background: Color or image background
- Email Notifications: Where to send submission alerts
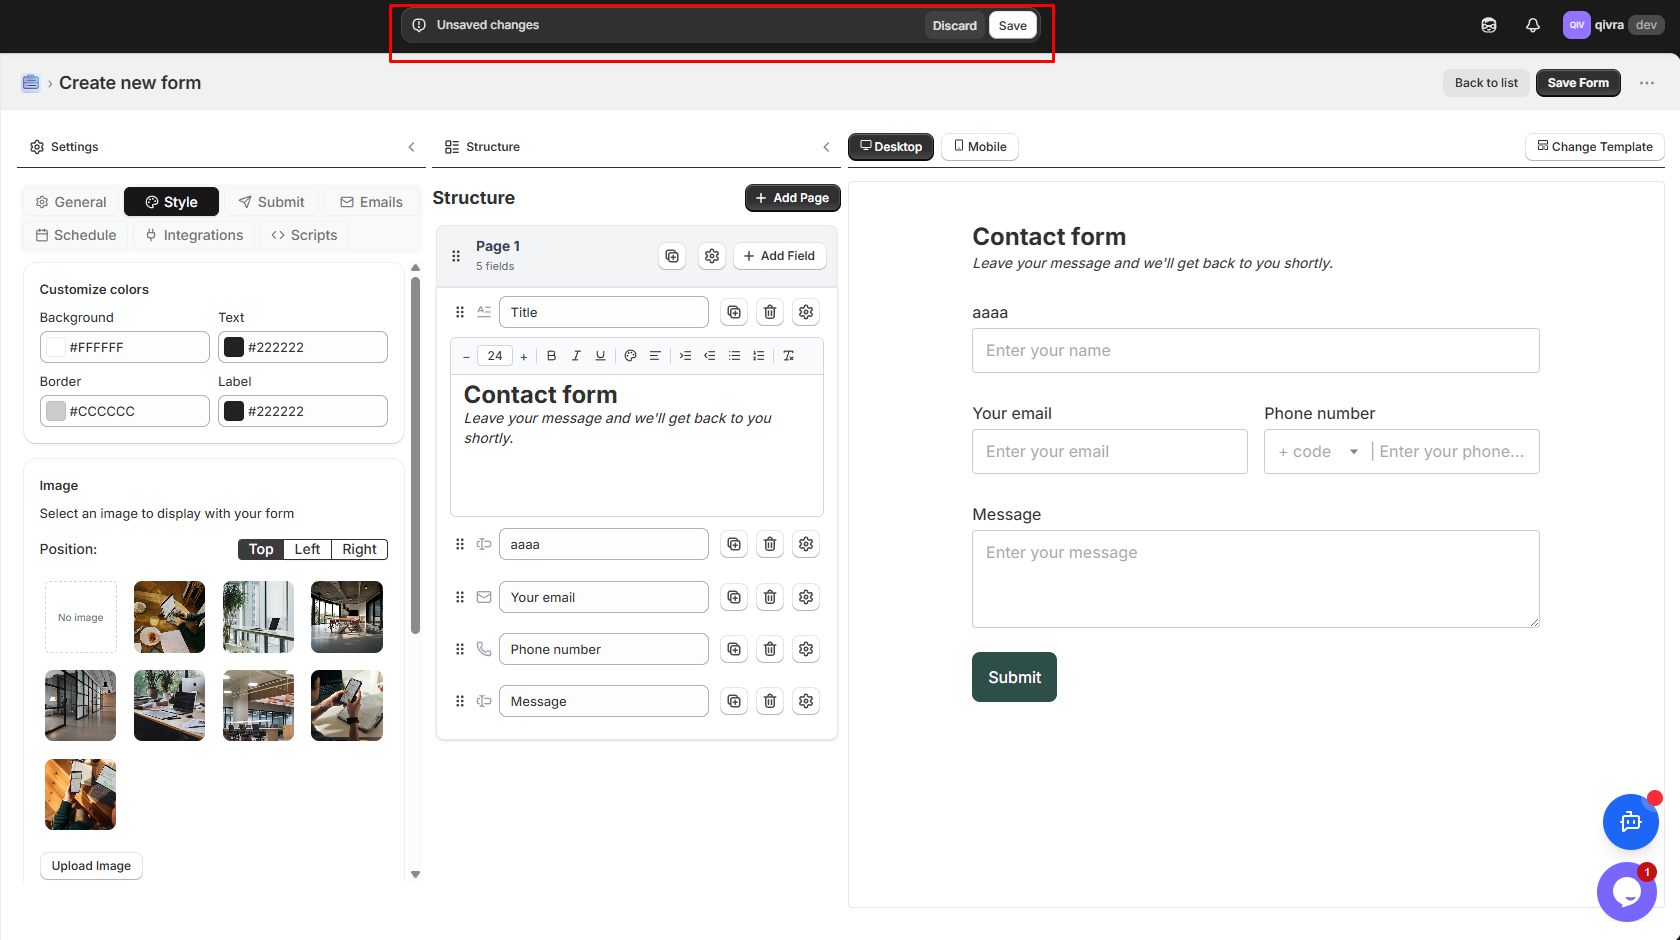
Step 8: Save Your Form
Section titled “Step 8: Save Your Form”Important: Always click Save to store your changes. Unsaved changes will be lost when you leave the page.
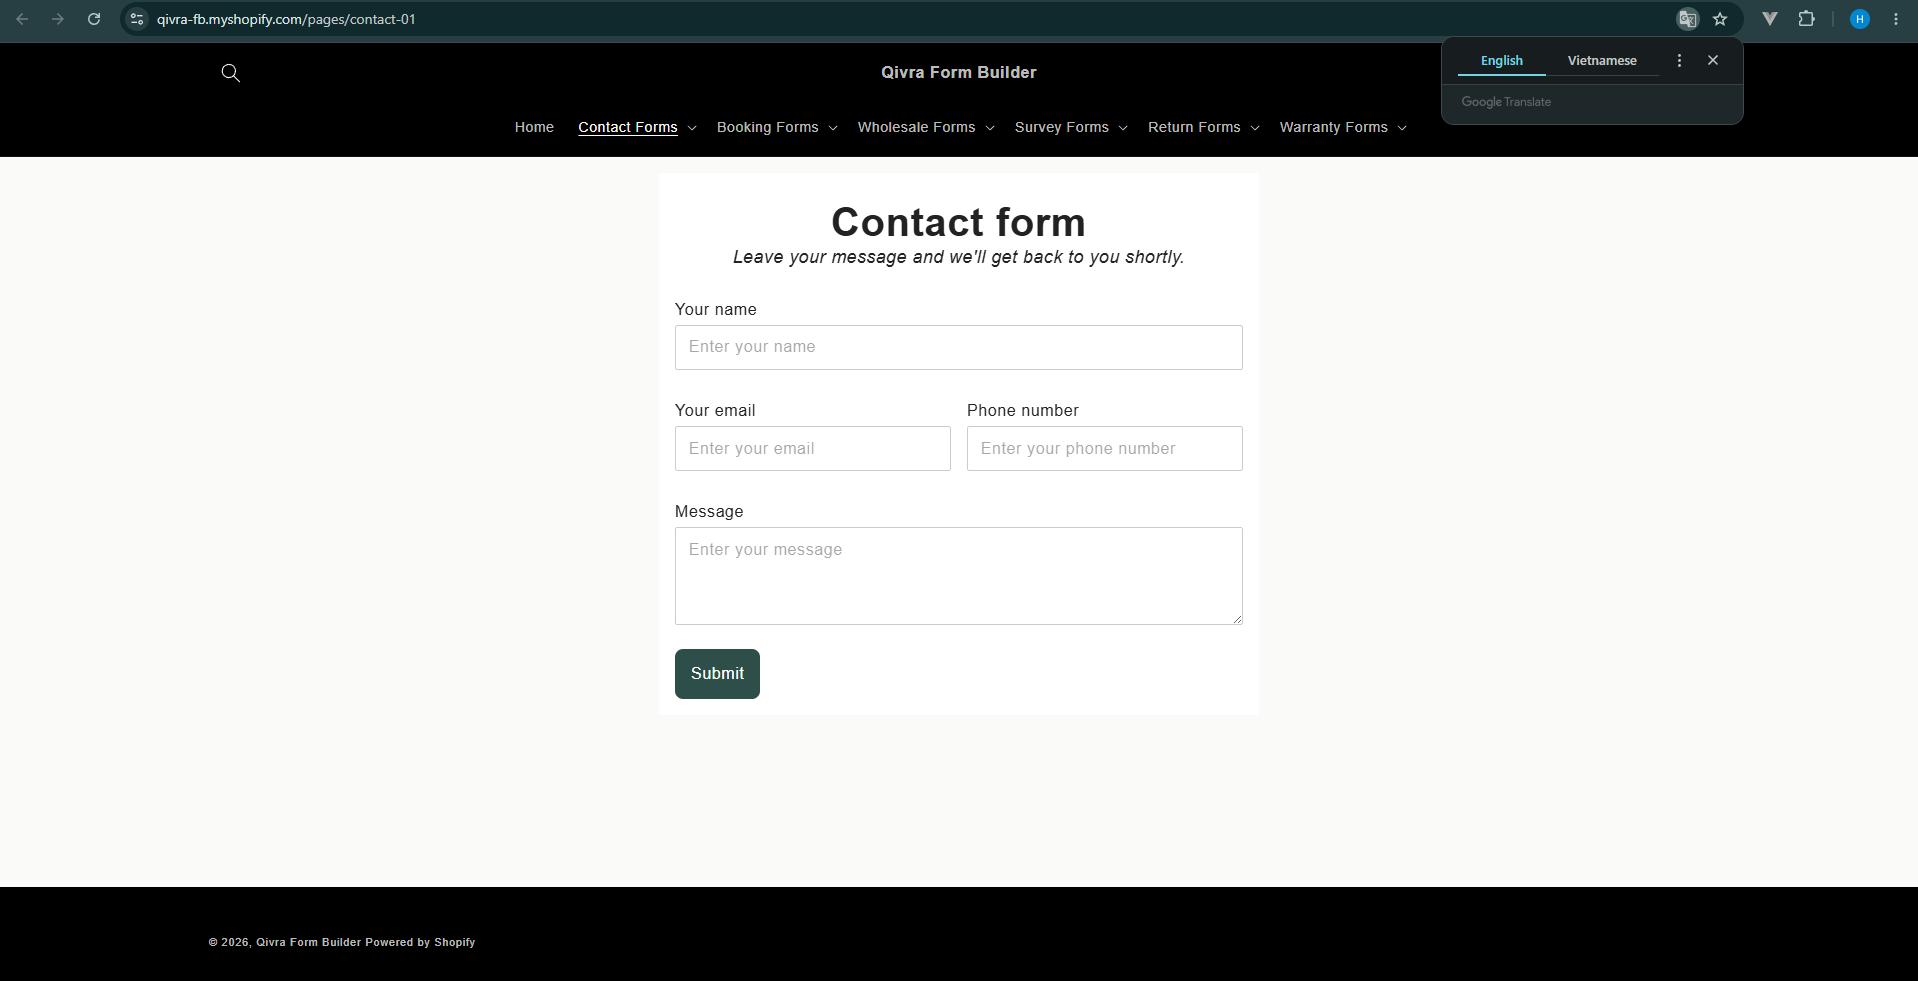
Step 9: Display Your Form
Section titled “Step 9: Display Your Form”After saving, your form is ready to be displayed on your store:
- Go to Shopify Online Store > Themes > Edit theme
- Select app embeded enable Qivra Form Builder
- Navigate to the page where you want the form
- Add a section and select Qivra Form Builder
- Choose your form from the dropdown
- Save and publish
For more display options, see Display Form on Your Store.