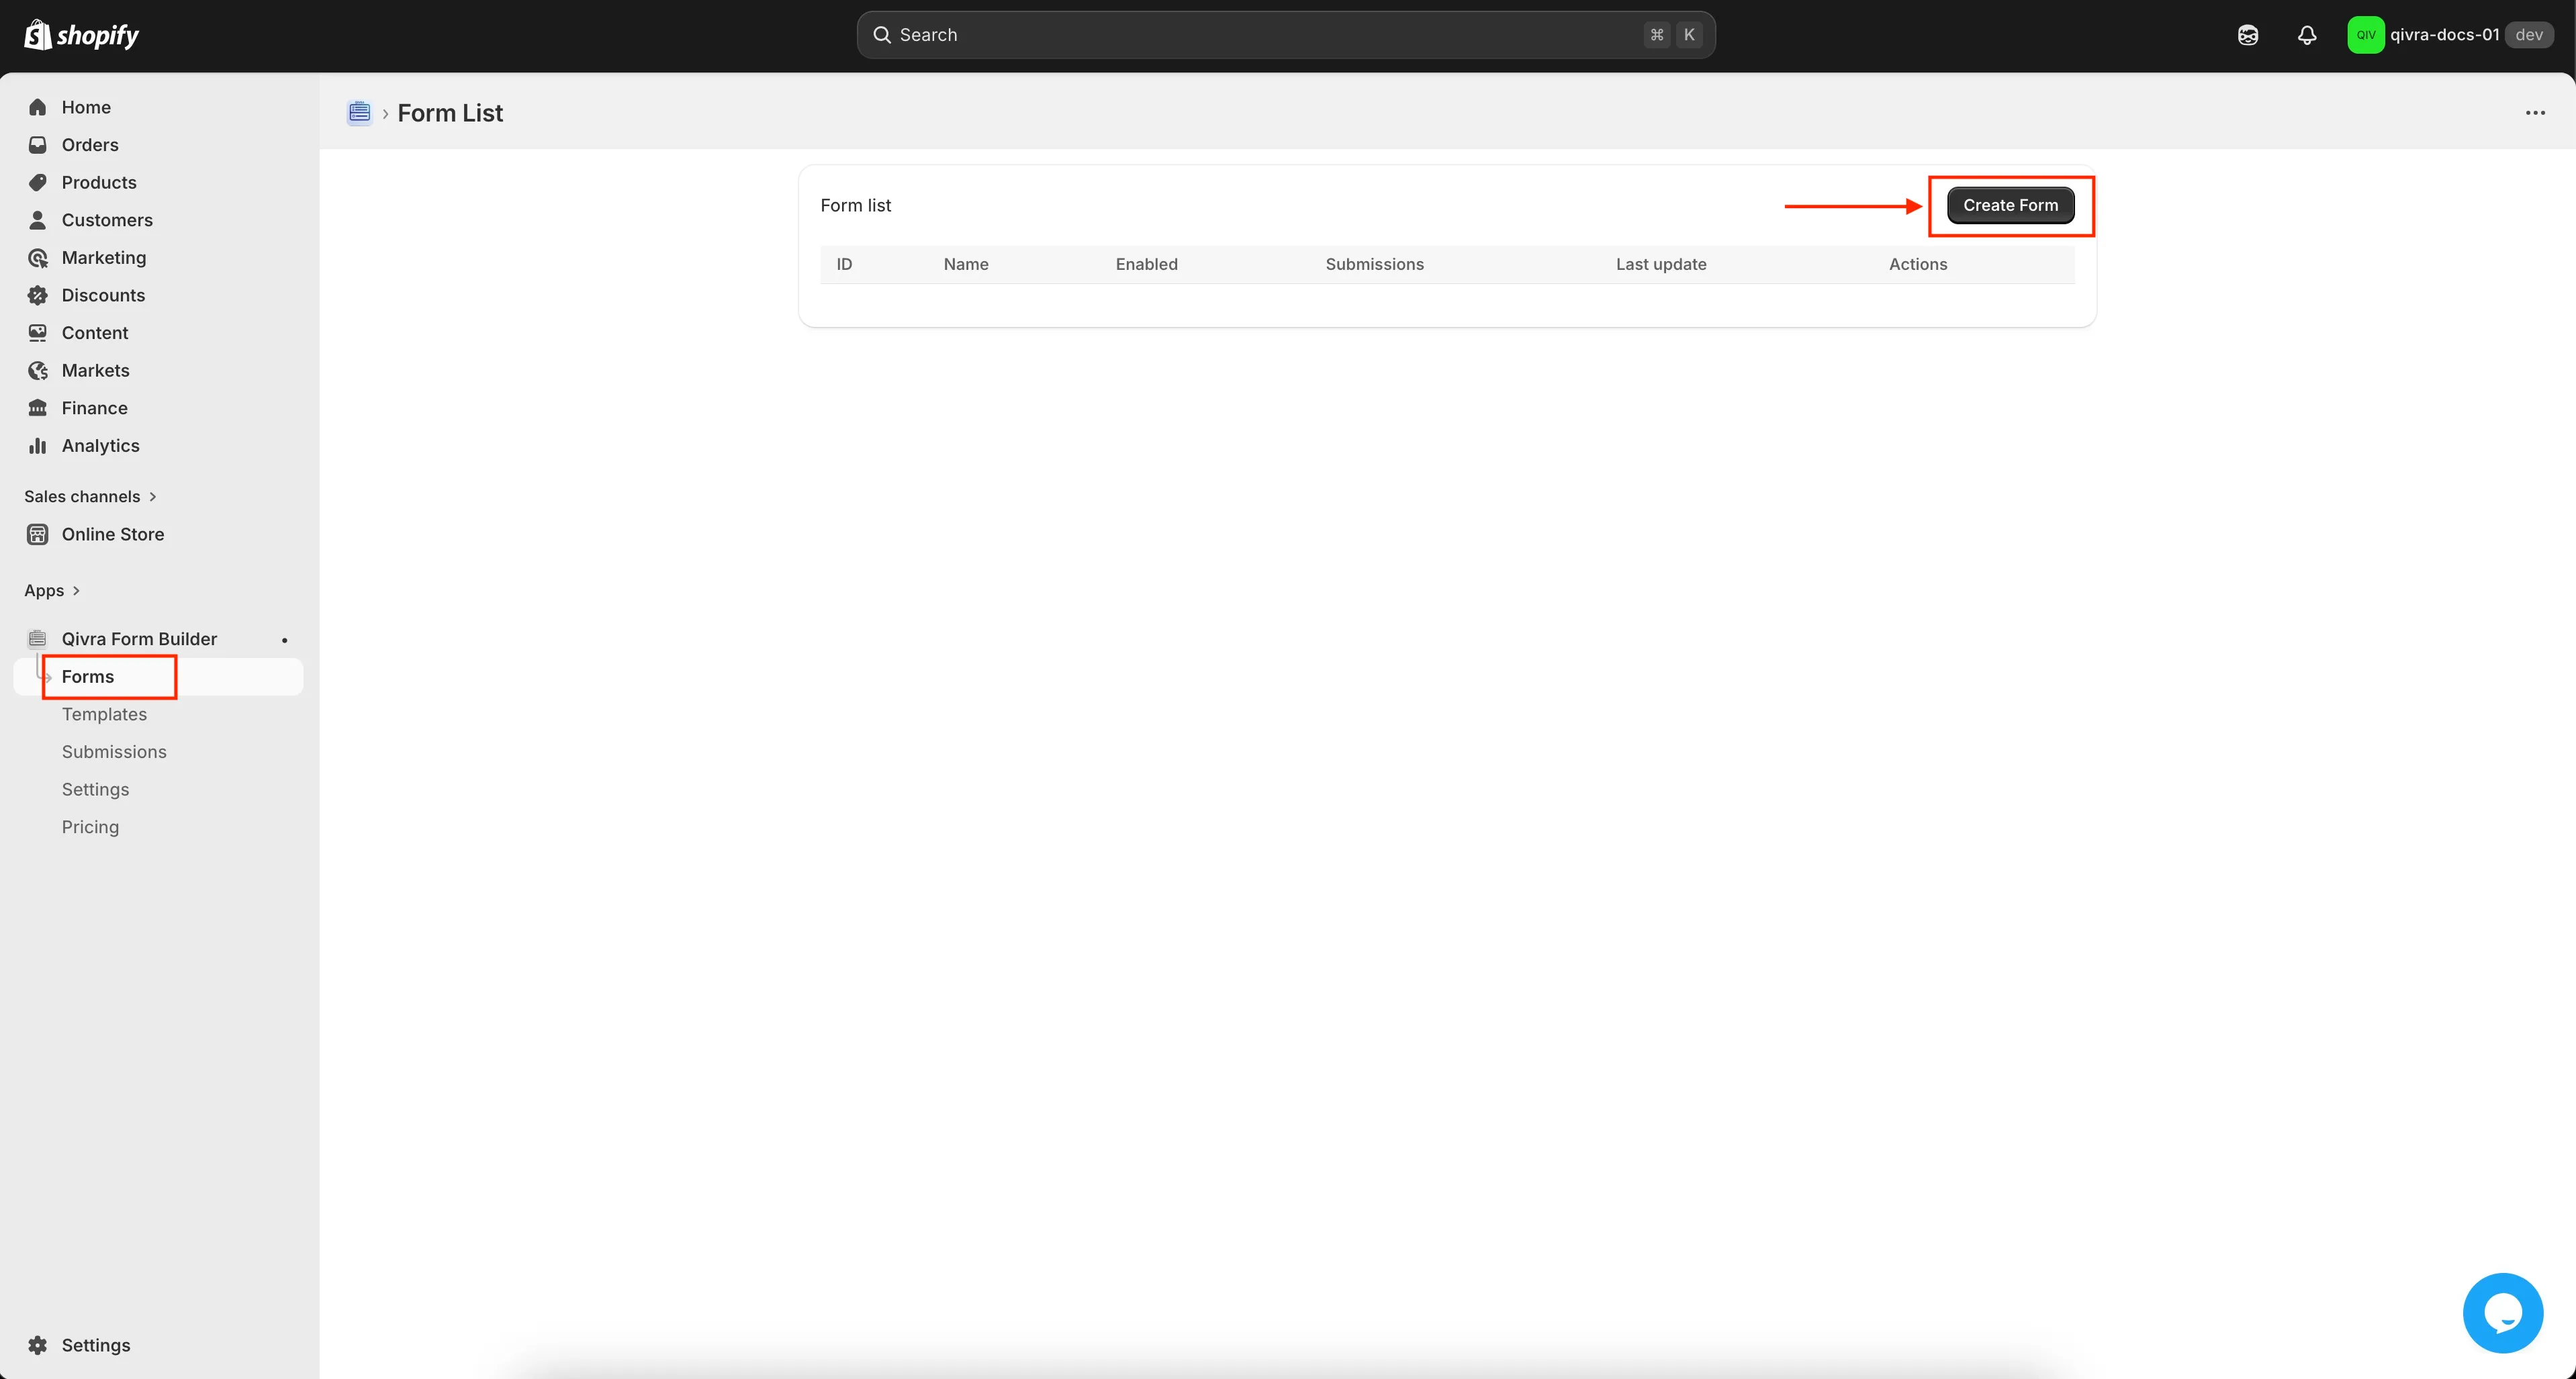
Create a new form
This guide will show you how to create your first form using Qivra Form Builder.
📝 Step 1: Create a New Form
Section titled “📝 Step 1: Create a New Form”- In your app dashboard, go to Forms → Create new form.
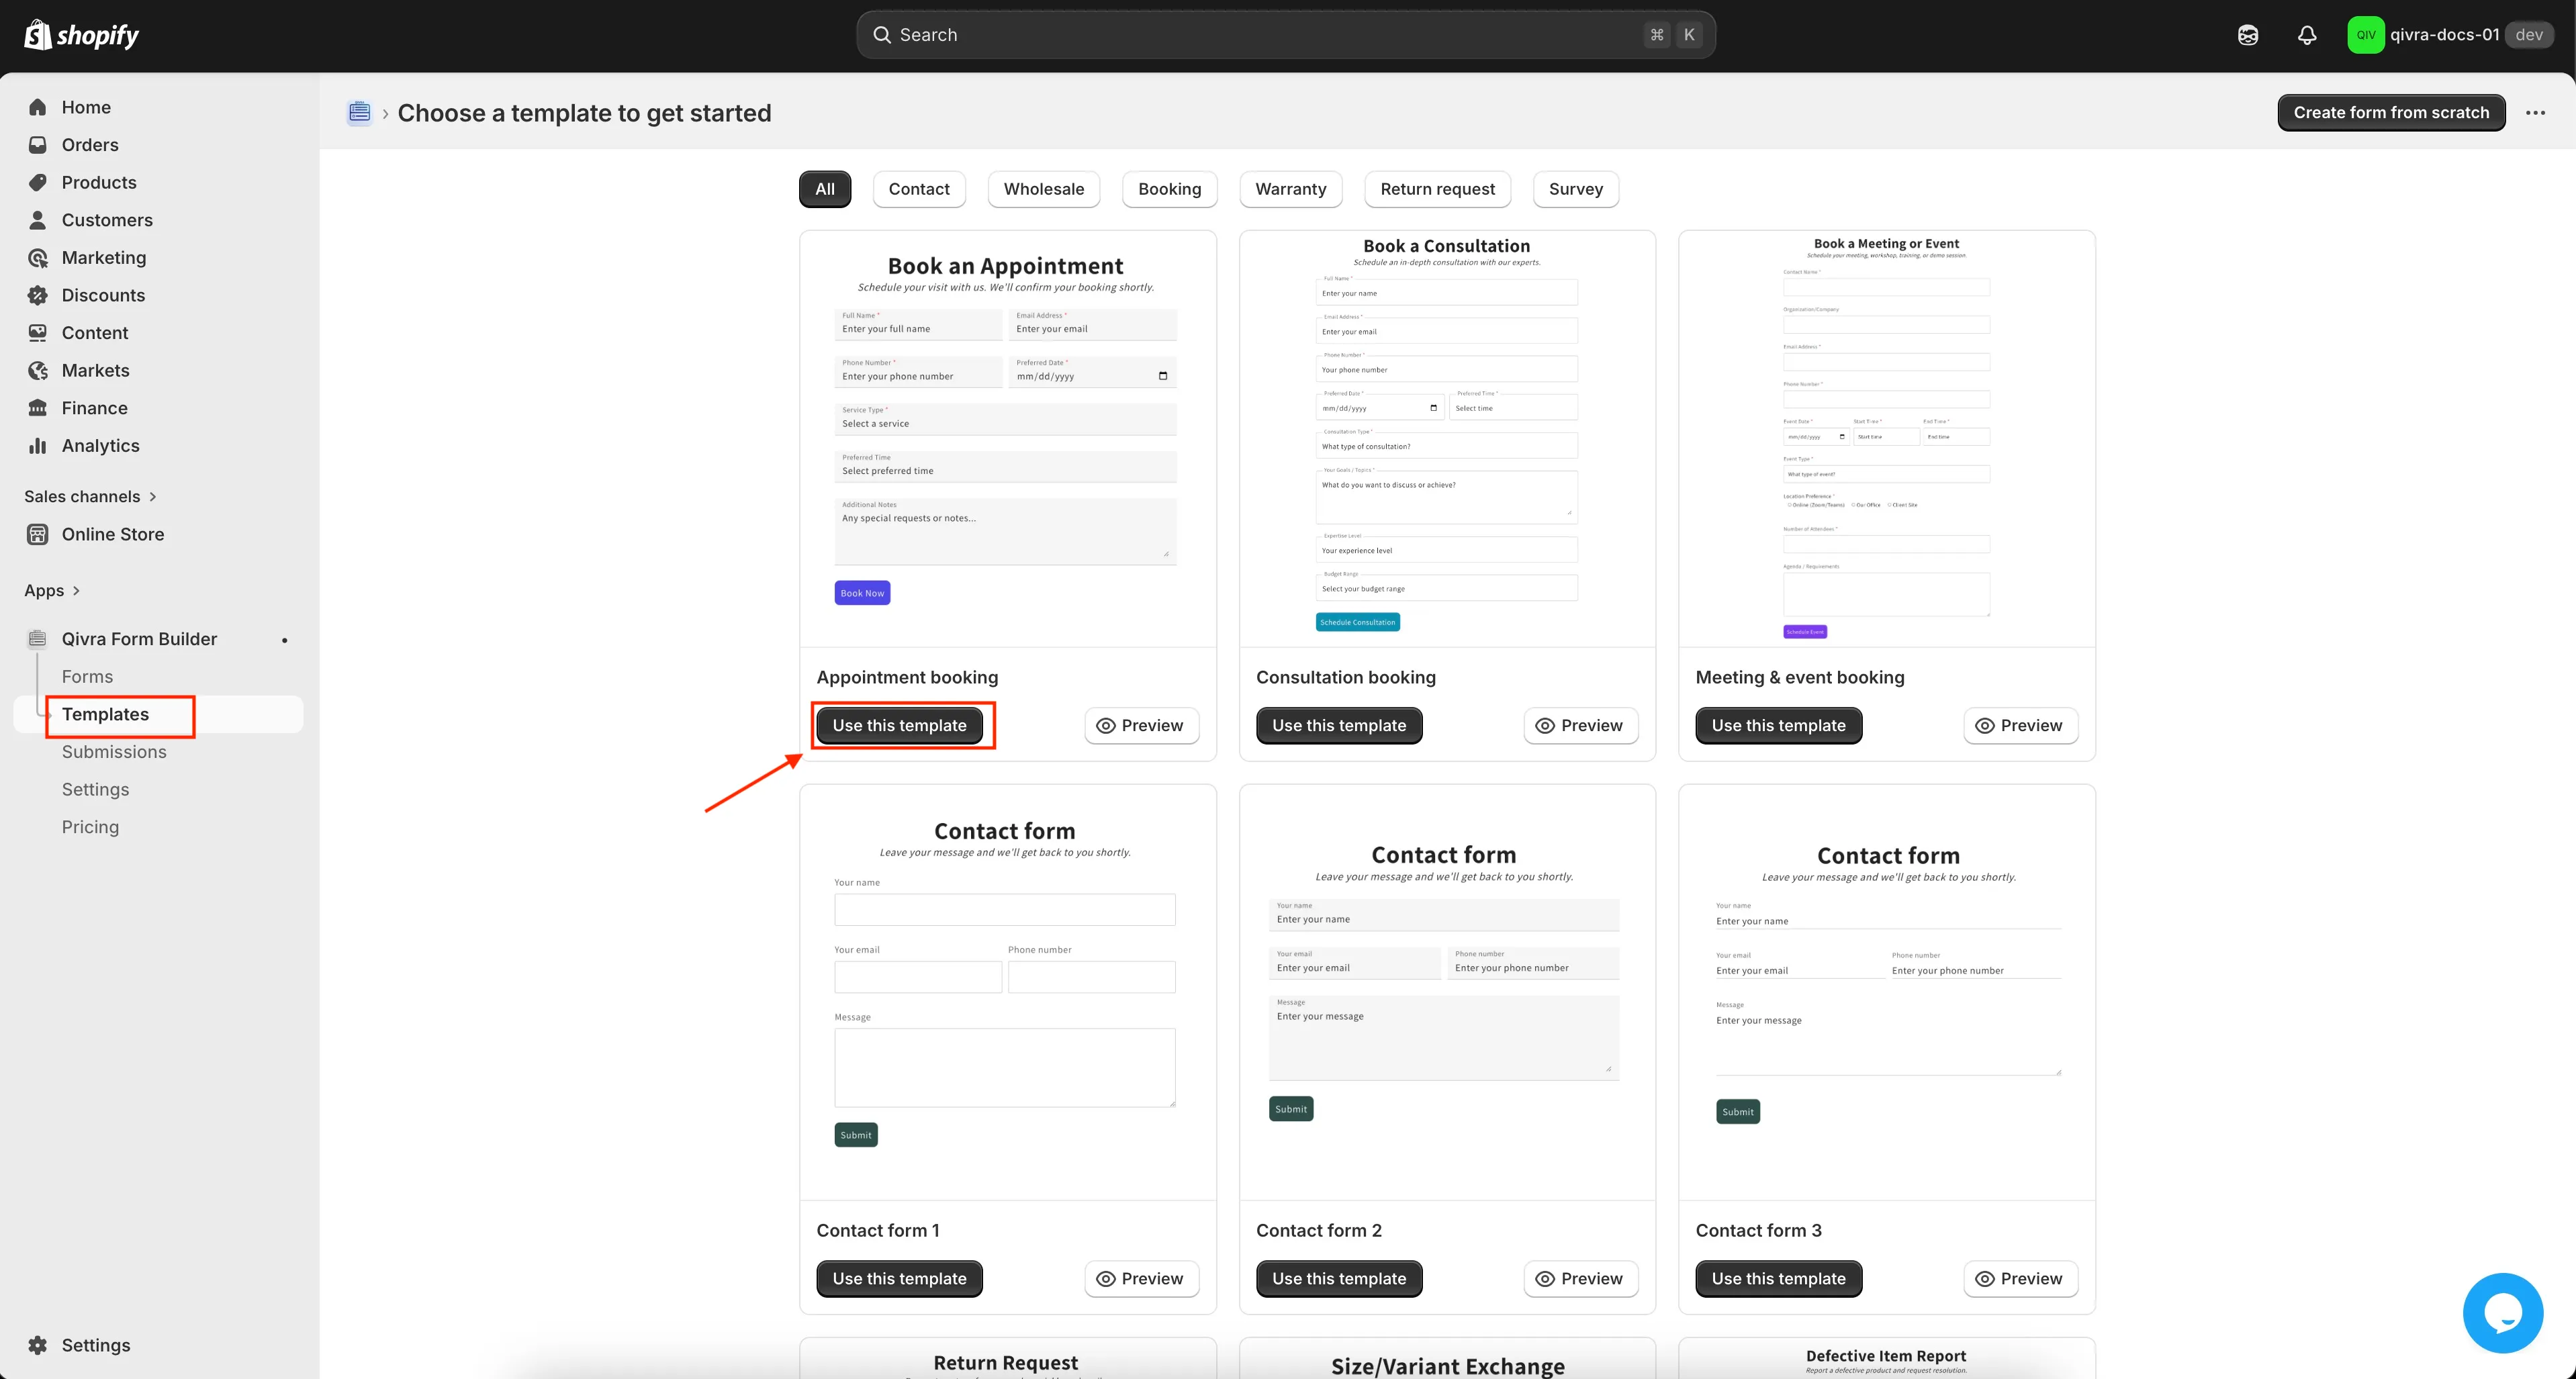
- Choose one option:
- Blank Form – start from zero.
- Template – choose a ready-made form and edit it.
📝 Step 2: Build Your Form
Section titled “📝 Step 2: Build Your Form”After choosing a form, you will enter the form editing screen.
What you see in the Form Builder:
Section titled “What you see in the Form Builder:”- Left side: form fields and field settings
- Right side: live preview of your form
- Top: Desktop/Mobile view toggle
- Page selector: choose where the form will appear in your store
📝 Step 3: Add Fields to Your Form
Section titled “📝 Step 3: Add Fields to Your Form”-
Click Add Elements on the left side.
-
Select the field type you want to add:
- Text
- Phone
- Dropdown
- Checkbox
- File Upload
- Date / Time
- Product Selector, and more
-
Click to insert the field into your form.
📝 Step 4: Edit a Field
Section titled “📝 Step 4: Edit a Field”Click any field in the live preview to open its settings.
Common field settings:
Section titled “Common field settings:”-
Label: the field name (e.g., “Full Name”)
-
Hide Label: hide the label text
-
Keep Label Space: keep spacing but hide label
-
Required: make the field mandatory
-
Column Width: choose
- 1/4 width
- 1/3 width
- 1/2 width
- Full width
📝 Step 5: Use the Field Toolbar
Section titled “📝 Step 5: Use the Field Toolbar”When hovering over a field in the preview, a small toolbar appears.
Toolbar actions:
Section titled “Toolbar actions:”- Move – drag the field to a new position
- Width – change to 1/3, 1/2, or full width
- Duplicate – copy the field
- Hide – hide the field from customers
- Delete – remove the field
📝 Step 6: Save Your Form
Section titled “📝 Step 6: Save Your Form”Click Save to store all changes.
⚠️ Don’t forget this step — unsaved changes will be lost.
📝 Step 7: Display Your Form on Your Store
Section titled “📝 Step 7: Display Your Form on Your Store”After saving, choose how you want to display the form.
You can show the form on:
- A page section (using Shopify’s theme editor)
- A specific page
- The homepage
- A product page
- Or via embed code / shortcode
Follow the display instructions to place the form exactly where you want it.
- Click Save once your form is ready
- To display the form on your store, embed it on any page using the provided shortcode or section block
Learn more about displaying your form on the front store